As decision-makers in an increasingly visual world, you understand that compelling product photography is no longer a luxury, but a necessity. High-quality imagery directly impacts brand perception, customer engagement, and ultimately, sales. However, simply pointing and shooting rarely yields the impactful results businesses demand. The art of product posing, often overlooked, is the secret weapon in transforming ordinary shots into extraordinary marketing assets.
This comprehensive guide, born from decades of experience in commercial photography and video production, will walk you through the essential steps to strategically pose your products, ensuring every shot communicates value, desirability, and professionalism.
Step 1: Understand Your Product’s Story and Audience
Before even touching a prop or adjusting a light, delve deep into the “why” behind your product. What problem does it solve? What emotion does it evoke? Who is your target demographic? A luxury watch will be posed differently than a children’s toy or an industrial component.
- Key Consideration: How does your product fit into the lifestyle or workflow of your ideal customer?
- Actionable Tip: Create a brief creative brief for each product, outlining its unique selling propositions and target audience. This will inform every subsequent posing decision.


Step 2: Choose Your Background Wisely
The background is not merely an empty space; it’s an integral part of your product’s environment. It should complement, not distract from, your star.
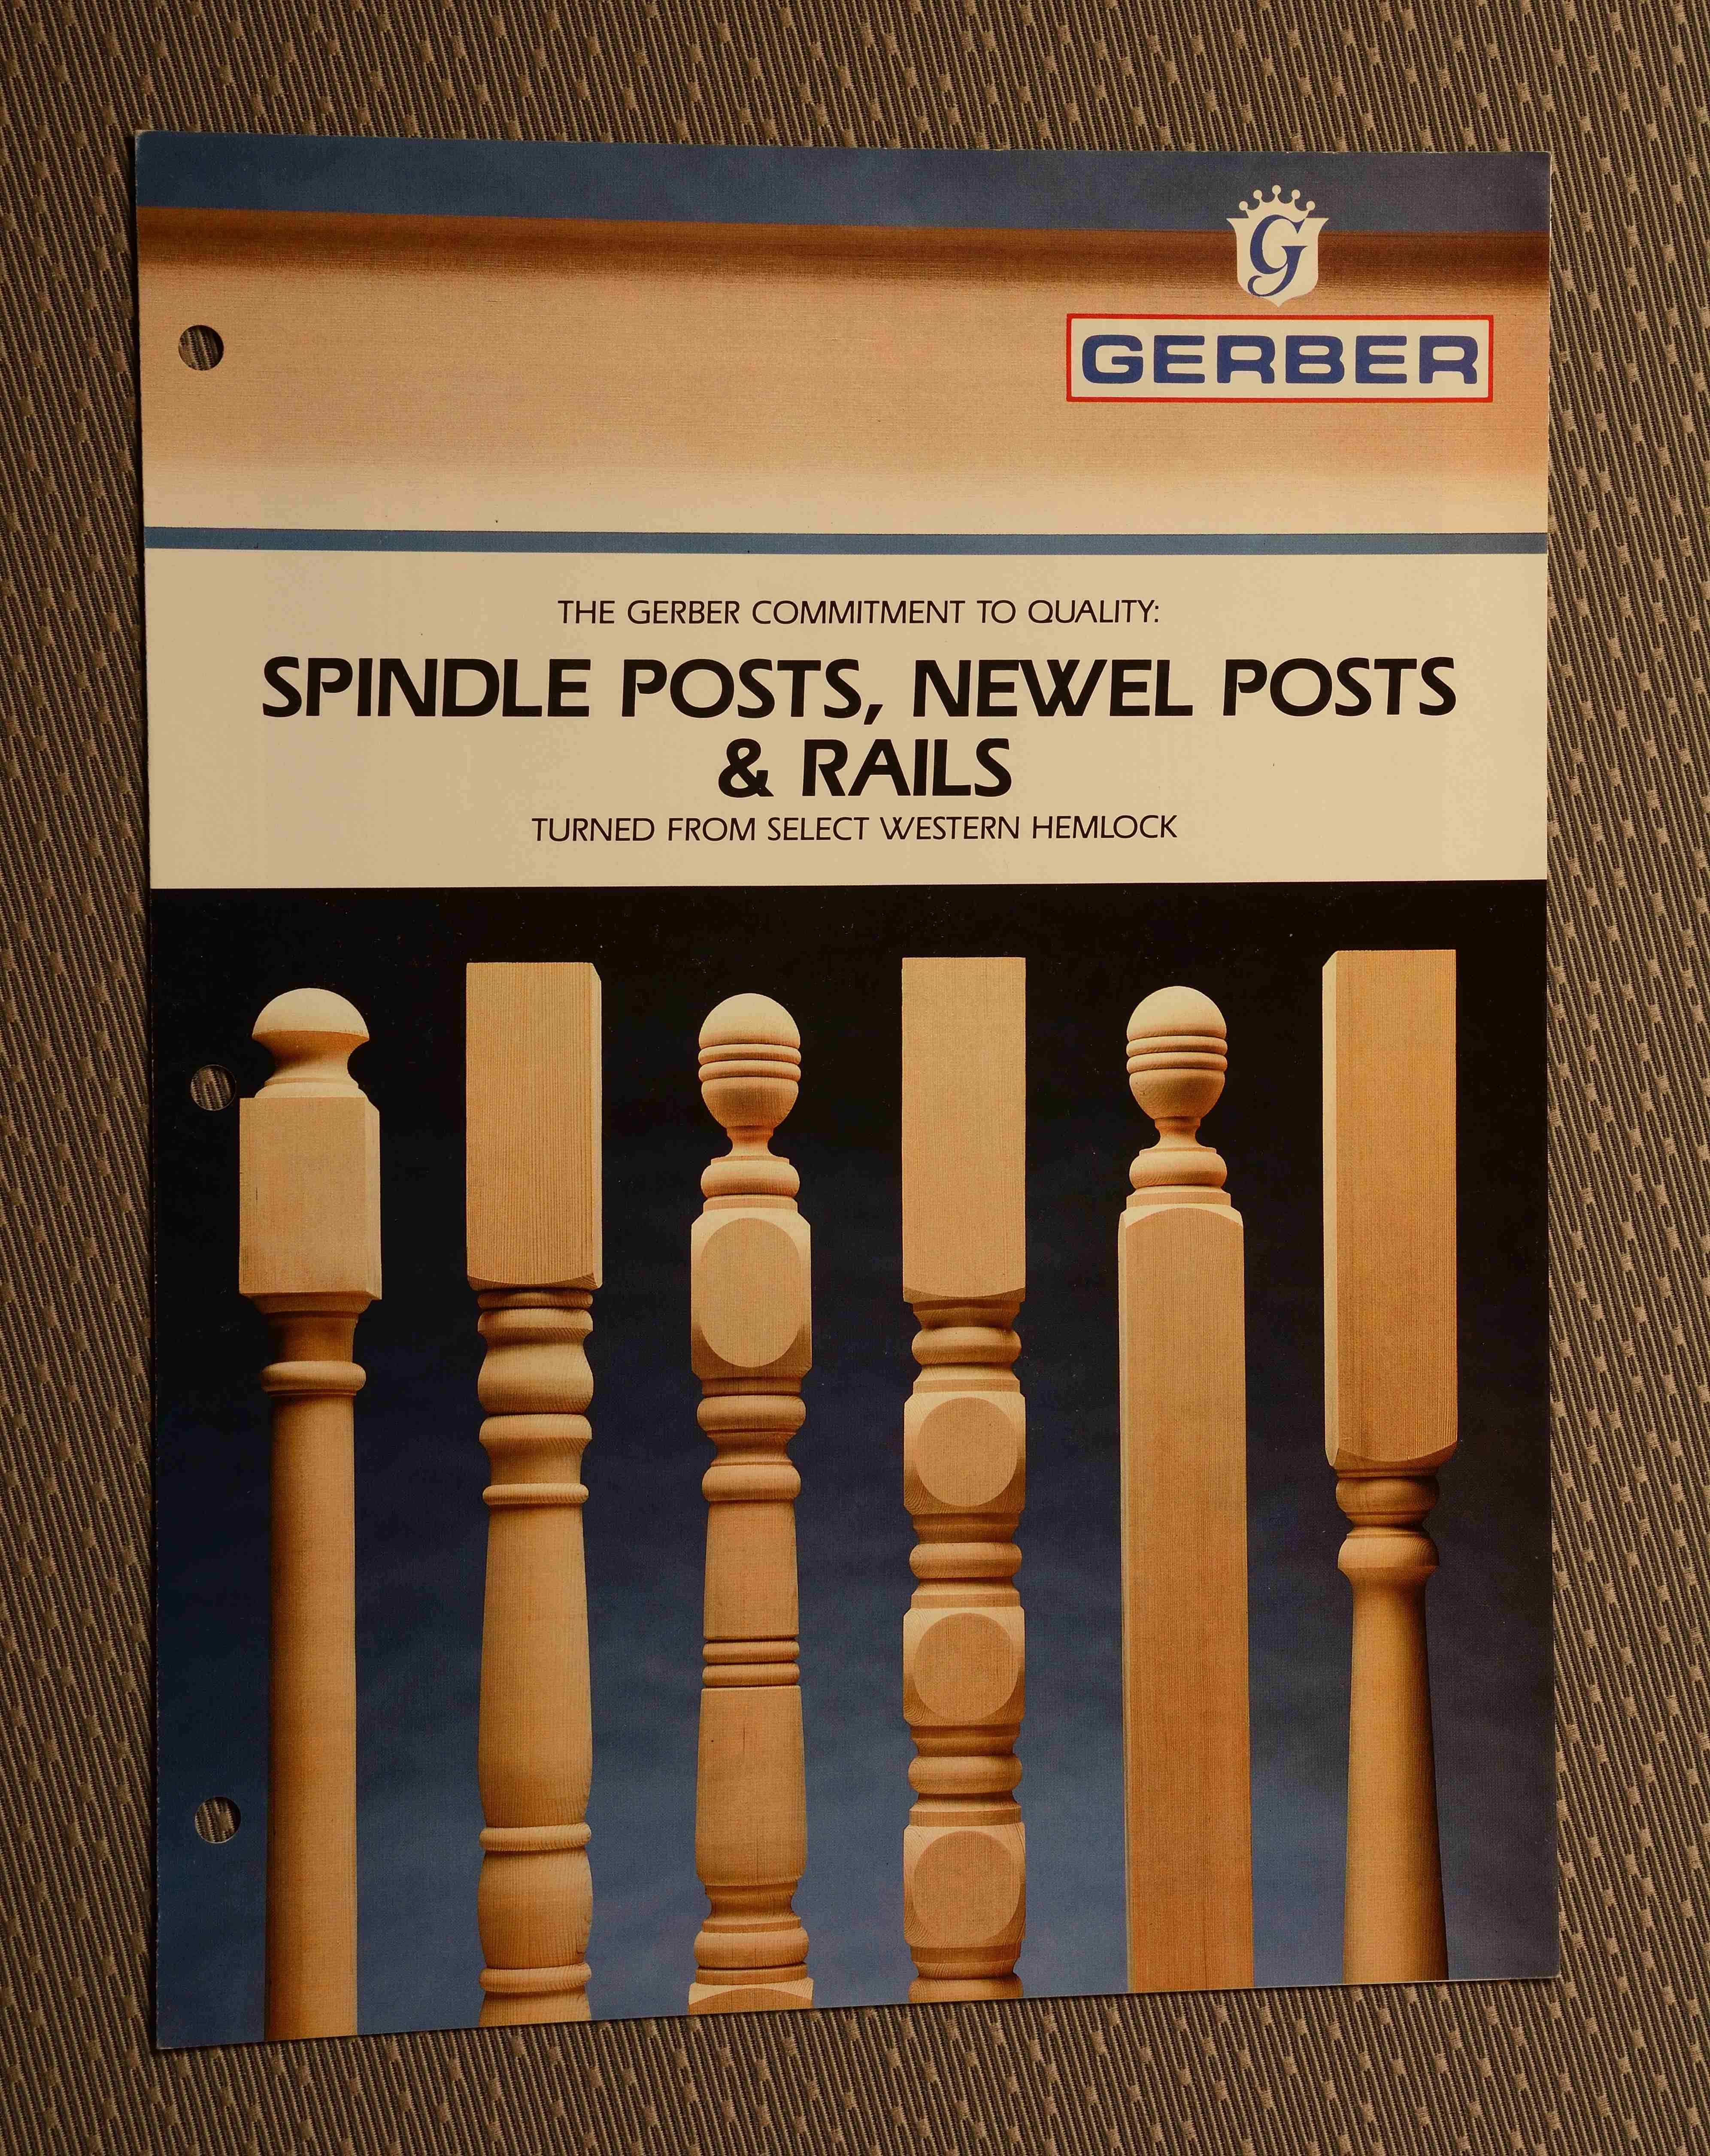
- Clean & Simple: For e-commerce, a pure white or neutral gray background is often ideal. It minimizes distractions and ensures the product stands out.
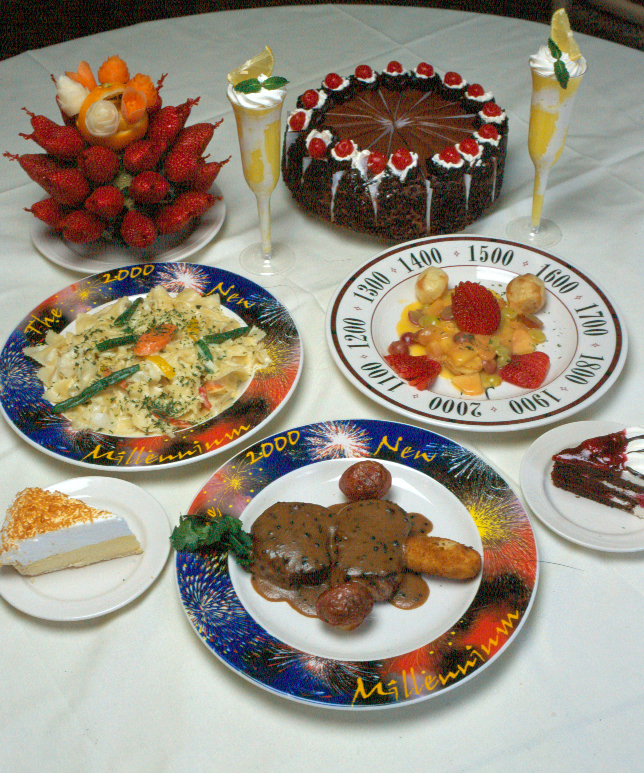
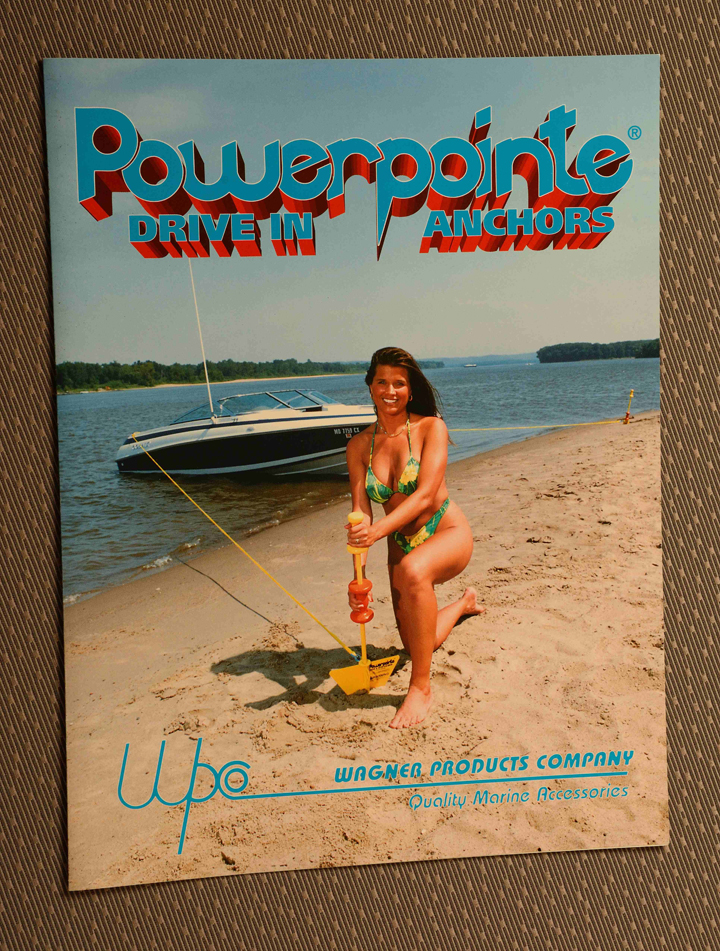
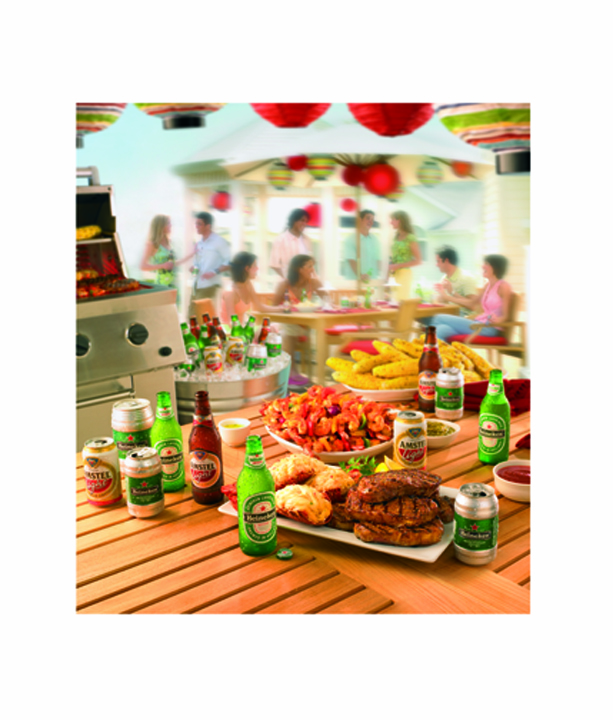
- Contextual & Evocative: For lifestyle or branding shots, consider backgrounds that hint at the product’s use case. A gourmet coffee grinder might be placed on a rustic kitchen counter, while a tech gadget could rest on a minimalist desk.
- Texture & Depth: Introduce subtle textures – wood, concrete, fabric – to add visual interest without overwhelming the product.
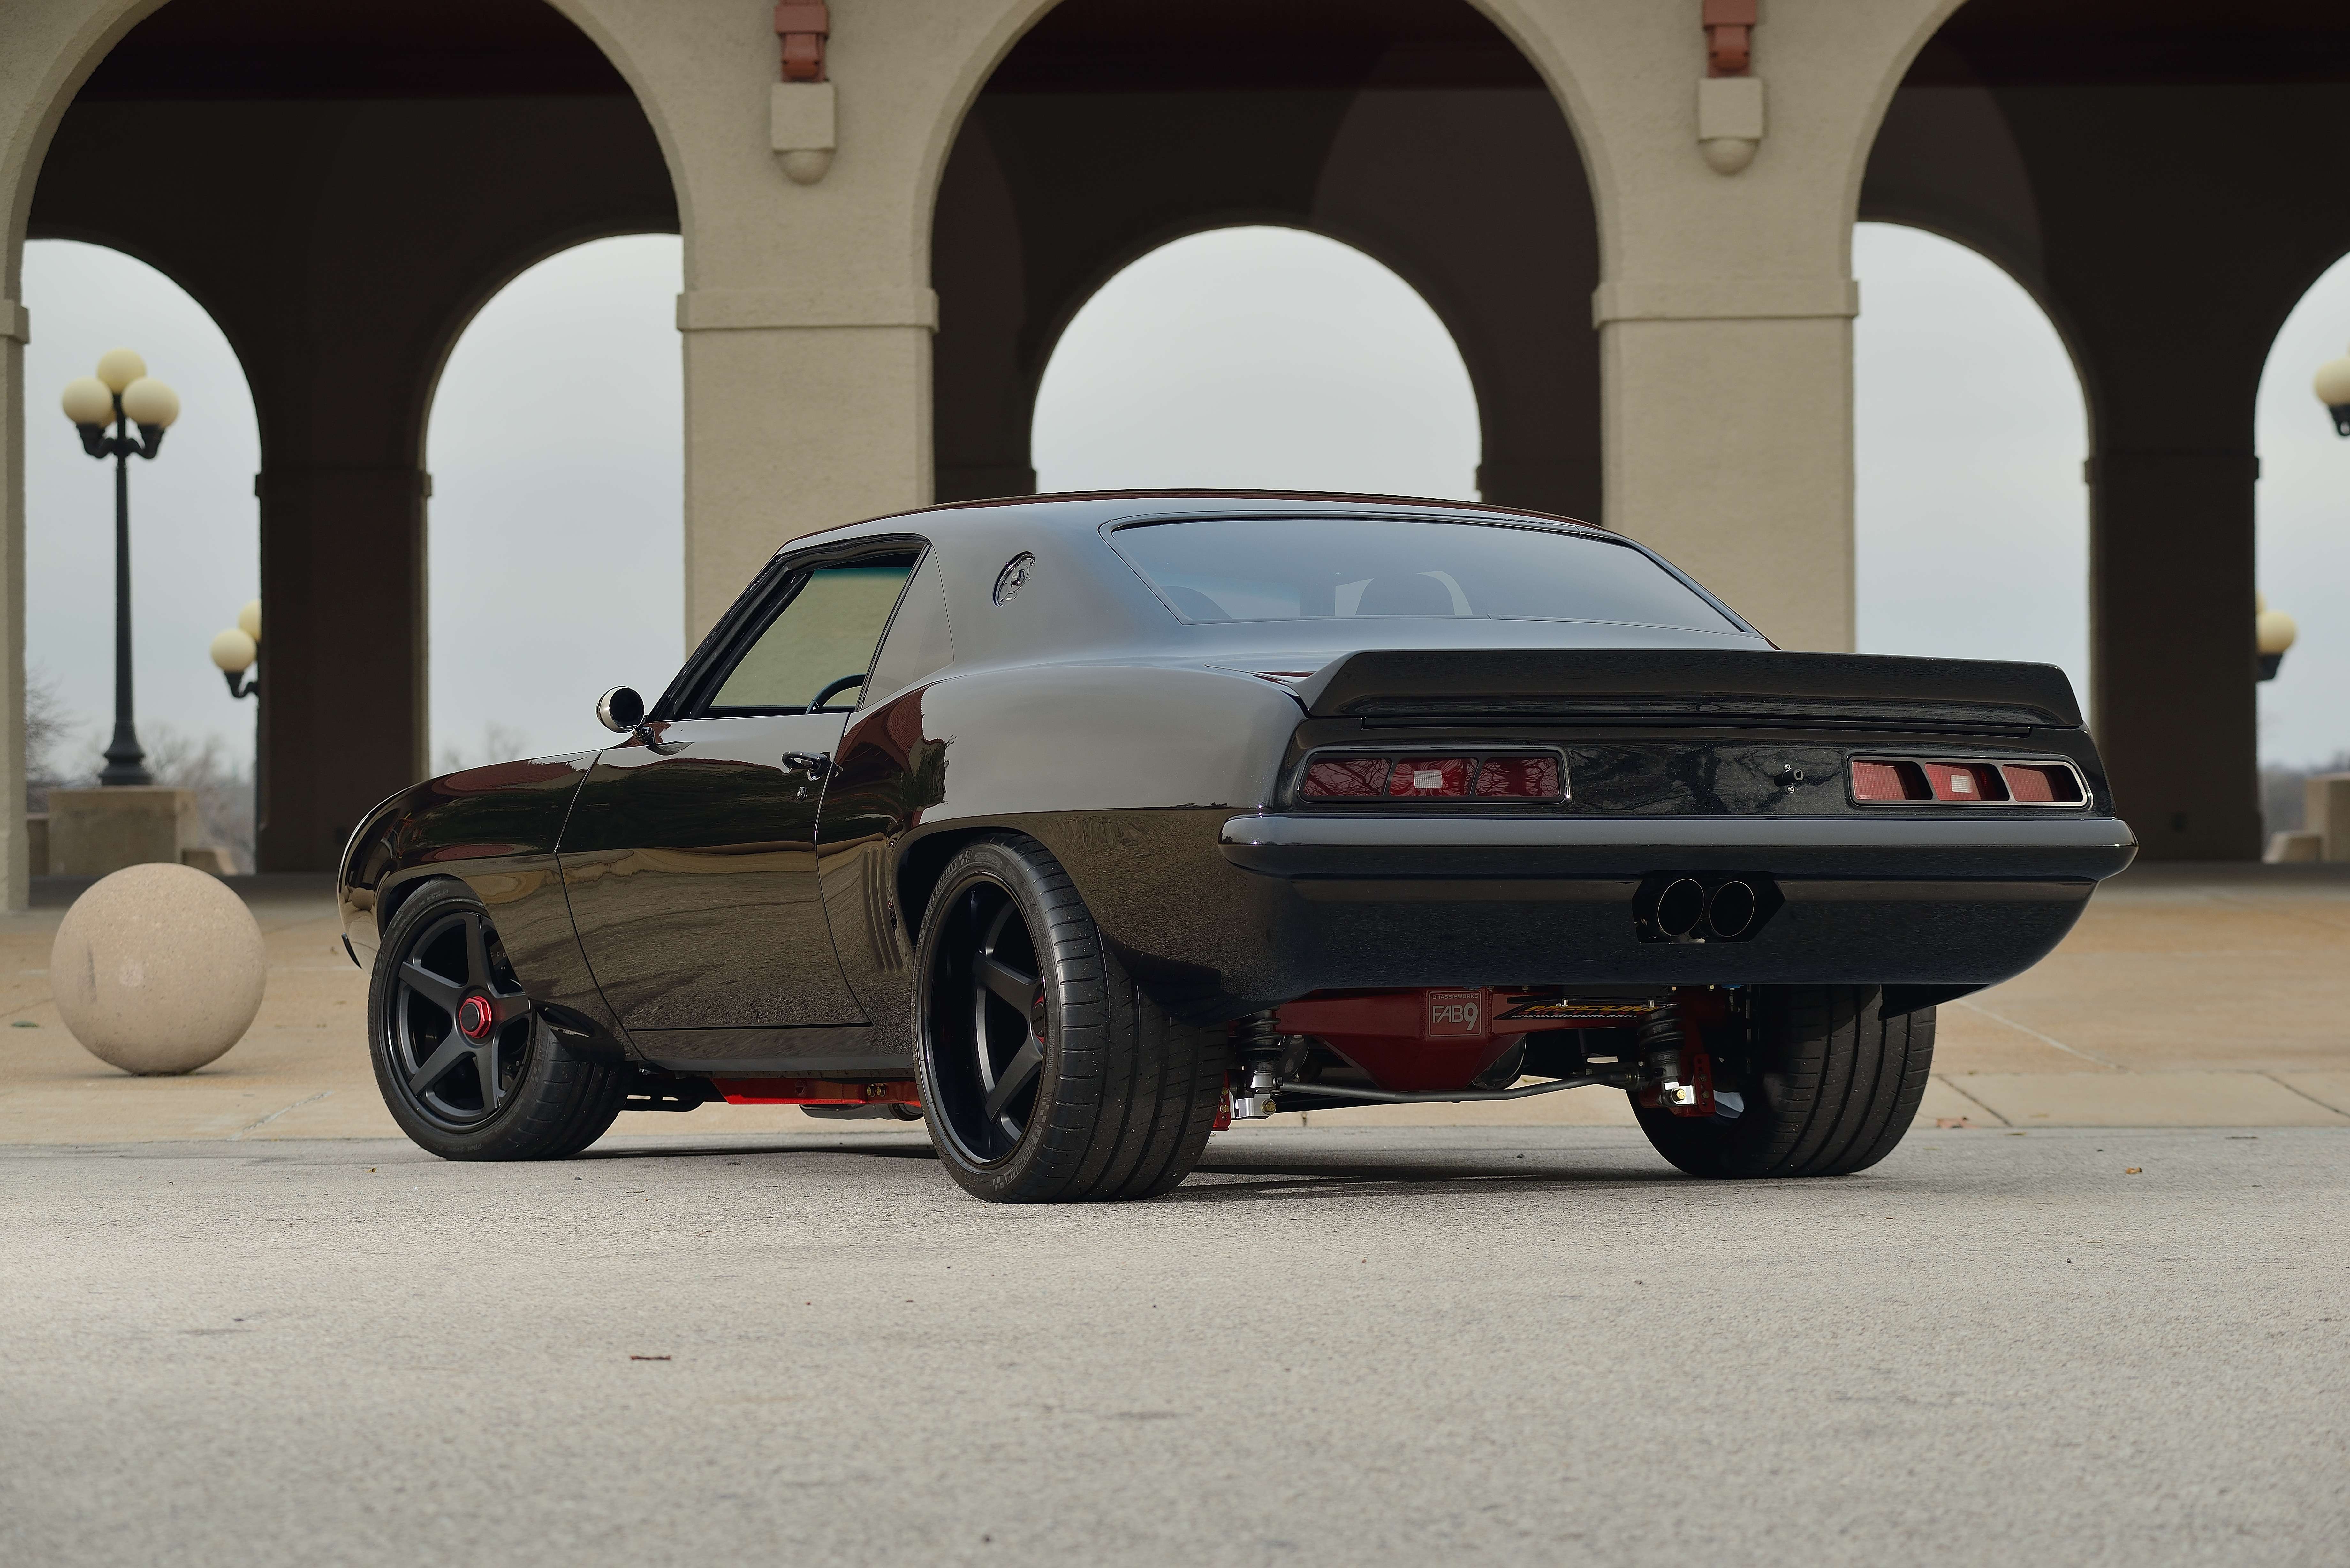
Step 3: Master the Art of Angles and Perspectives
The angle from which you photograph your product can drastically alter its perceived size, shape, and even its personality.
- Eye-Level: Often the most natural and relatable perspective, mimicking how a customer would see the product in person.
- High Angle (Bird’s Eye): Can make a product appear smaller or more approachable. Useful for showcasing the top surface or arrangement of multiple items.
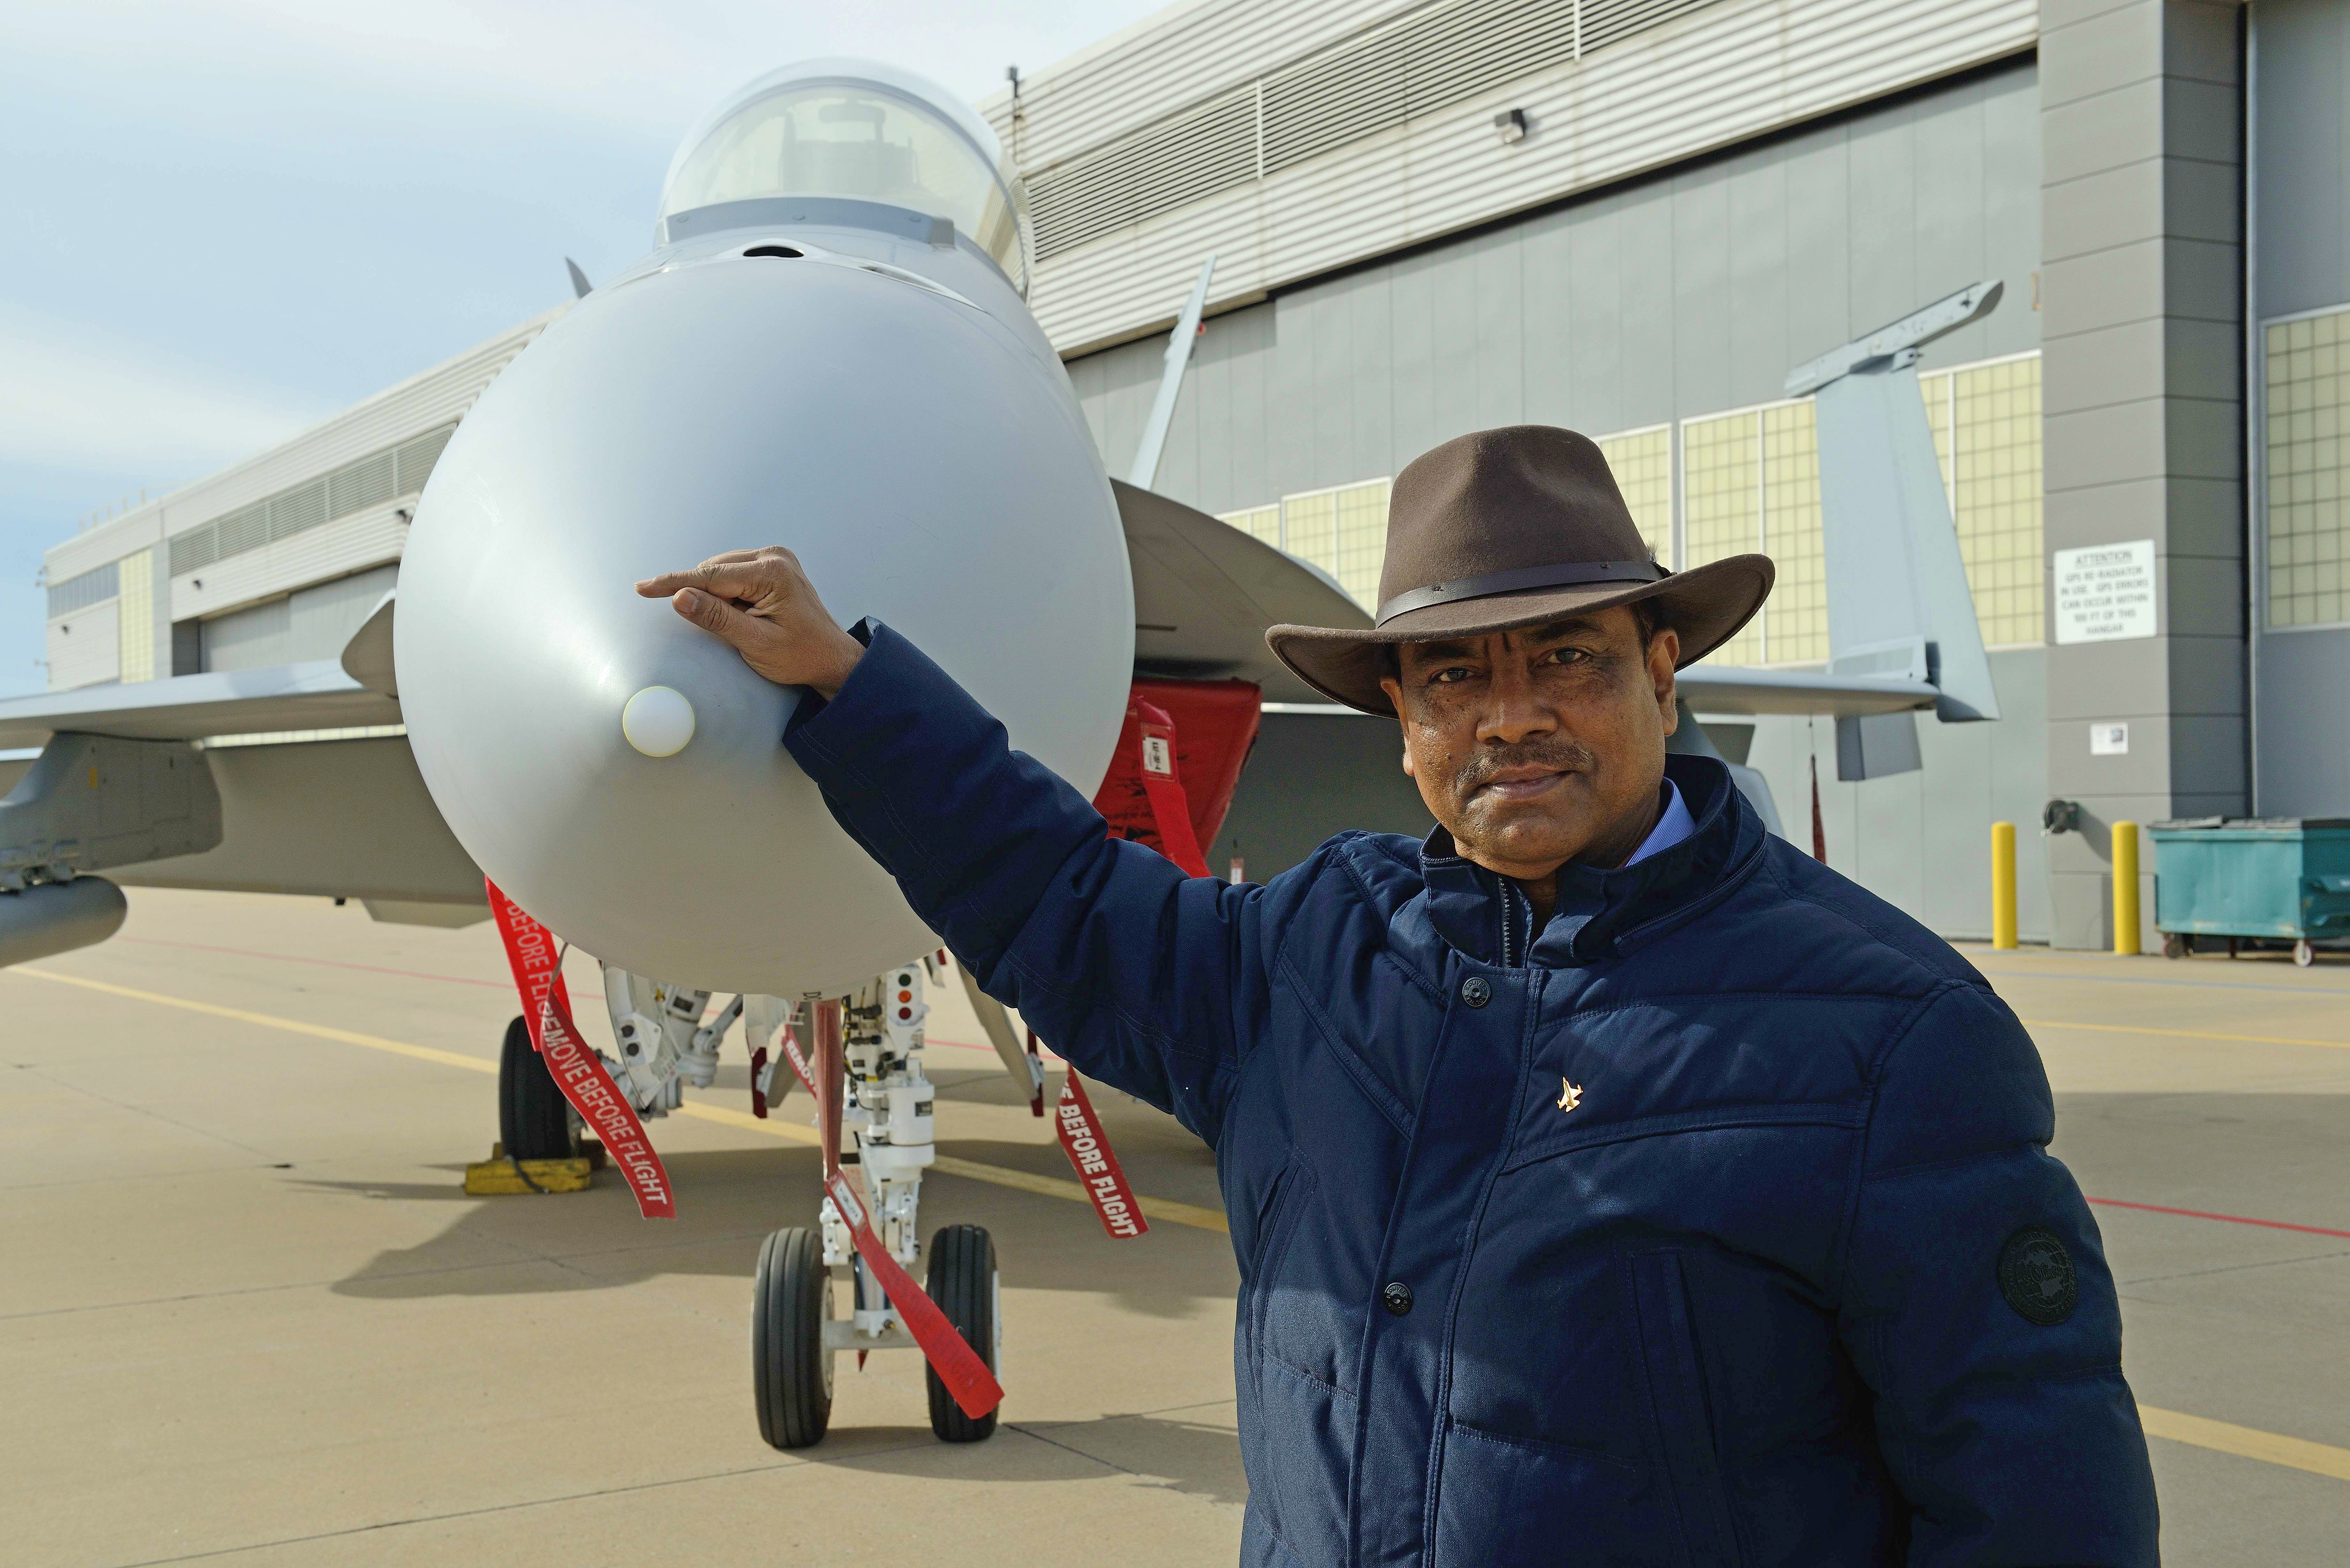
- Low Angle: Can lend a sense of grandeur, power, or importance to a product. Effective for showcasing height or intricate details from below.
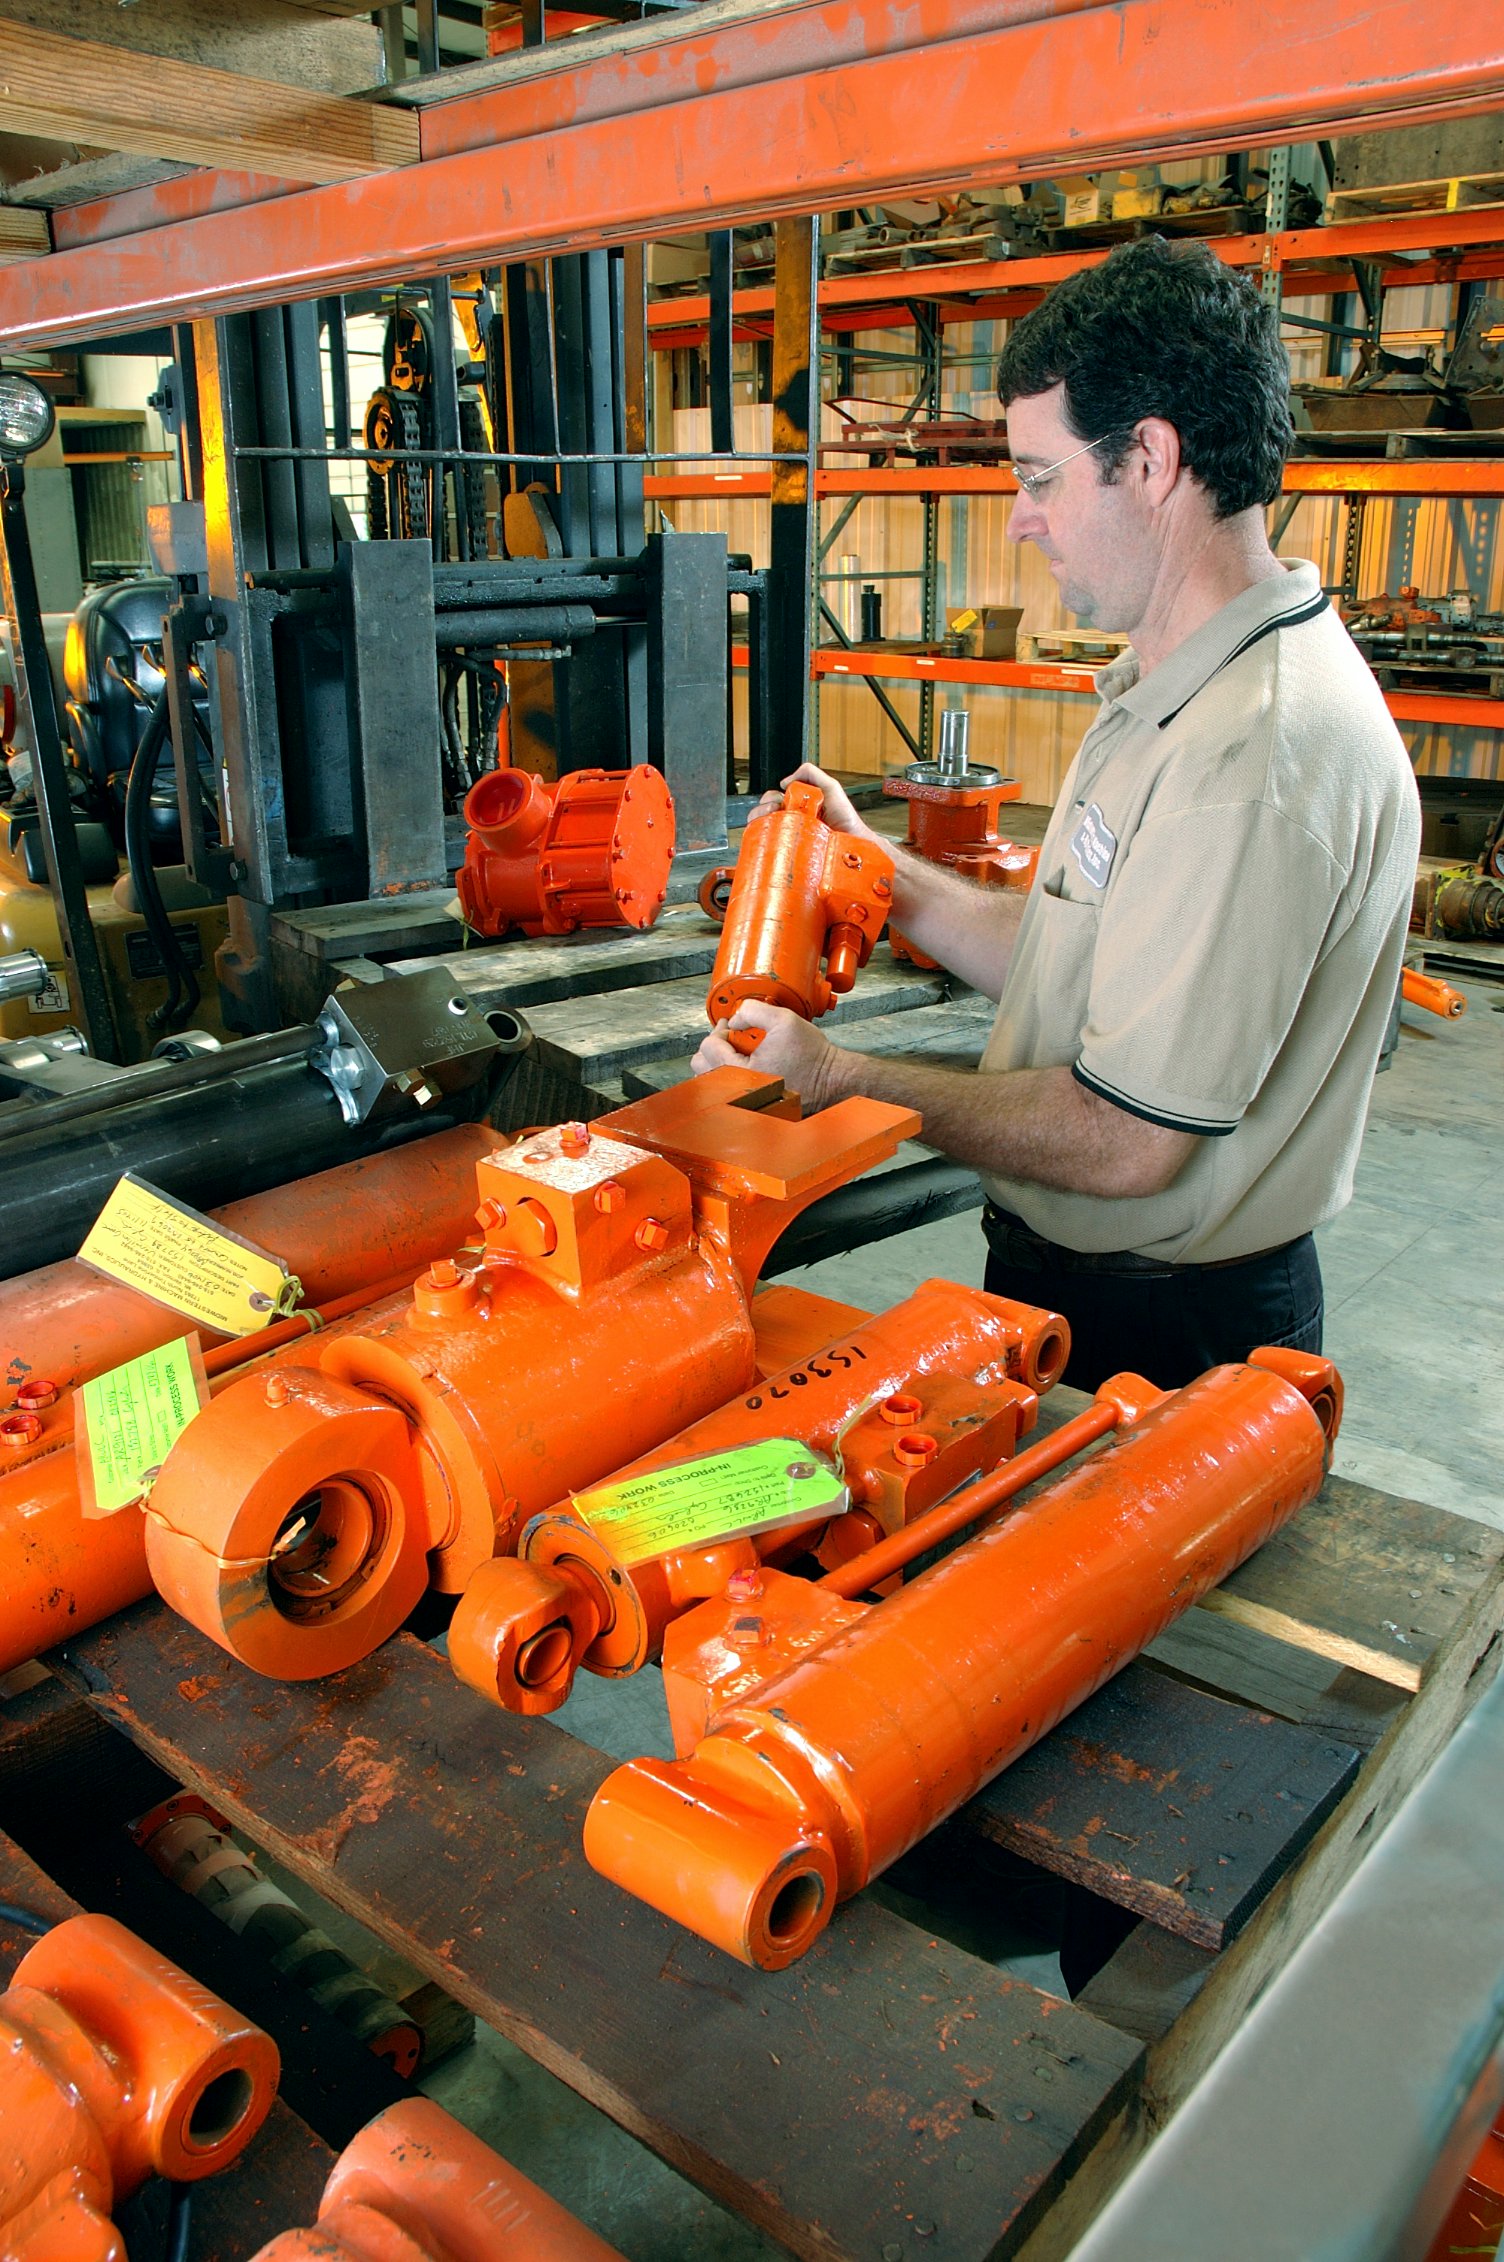
- Close-Up (Macro): Essential for highlighting textures, intricate craftsmanship, or specific features that differentiate your product.
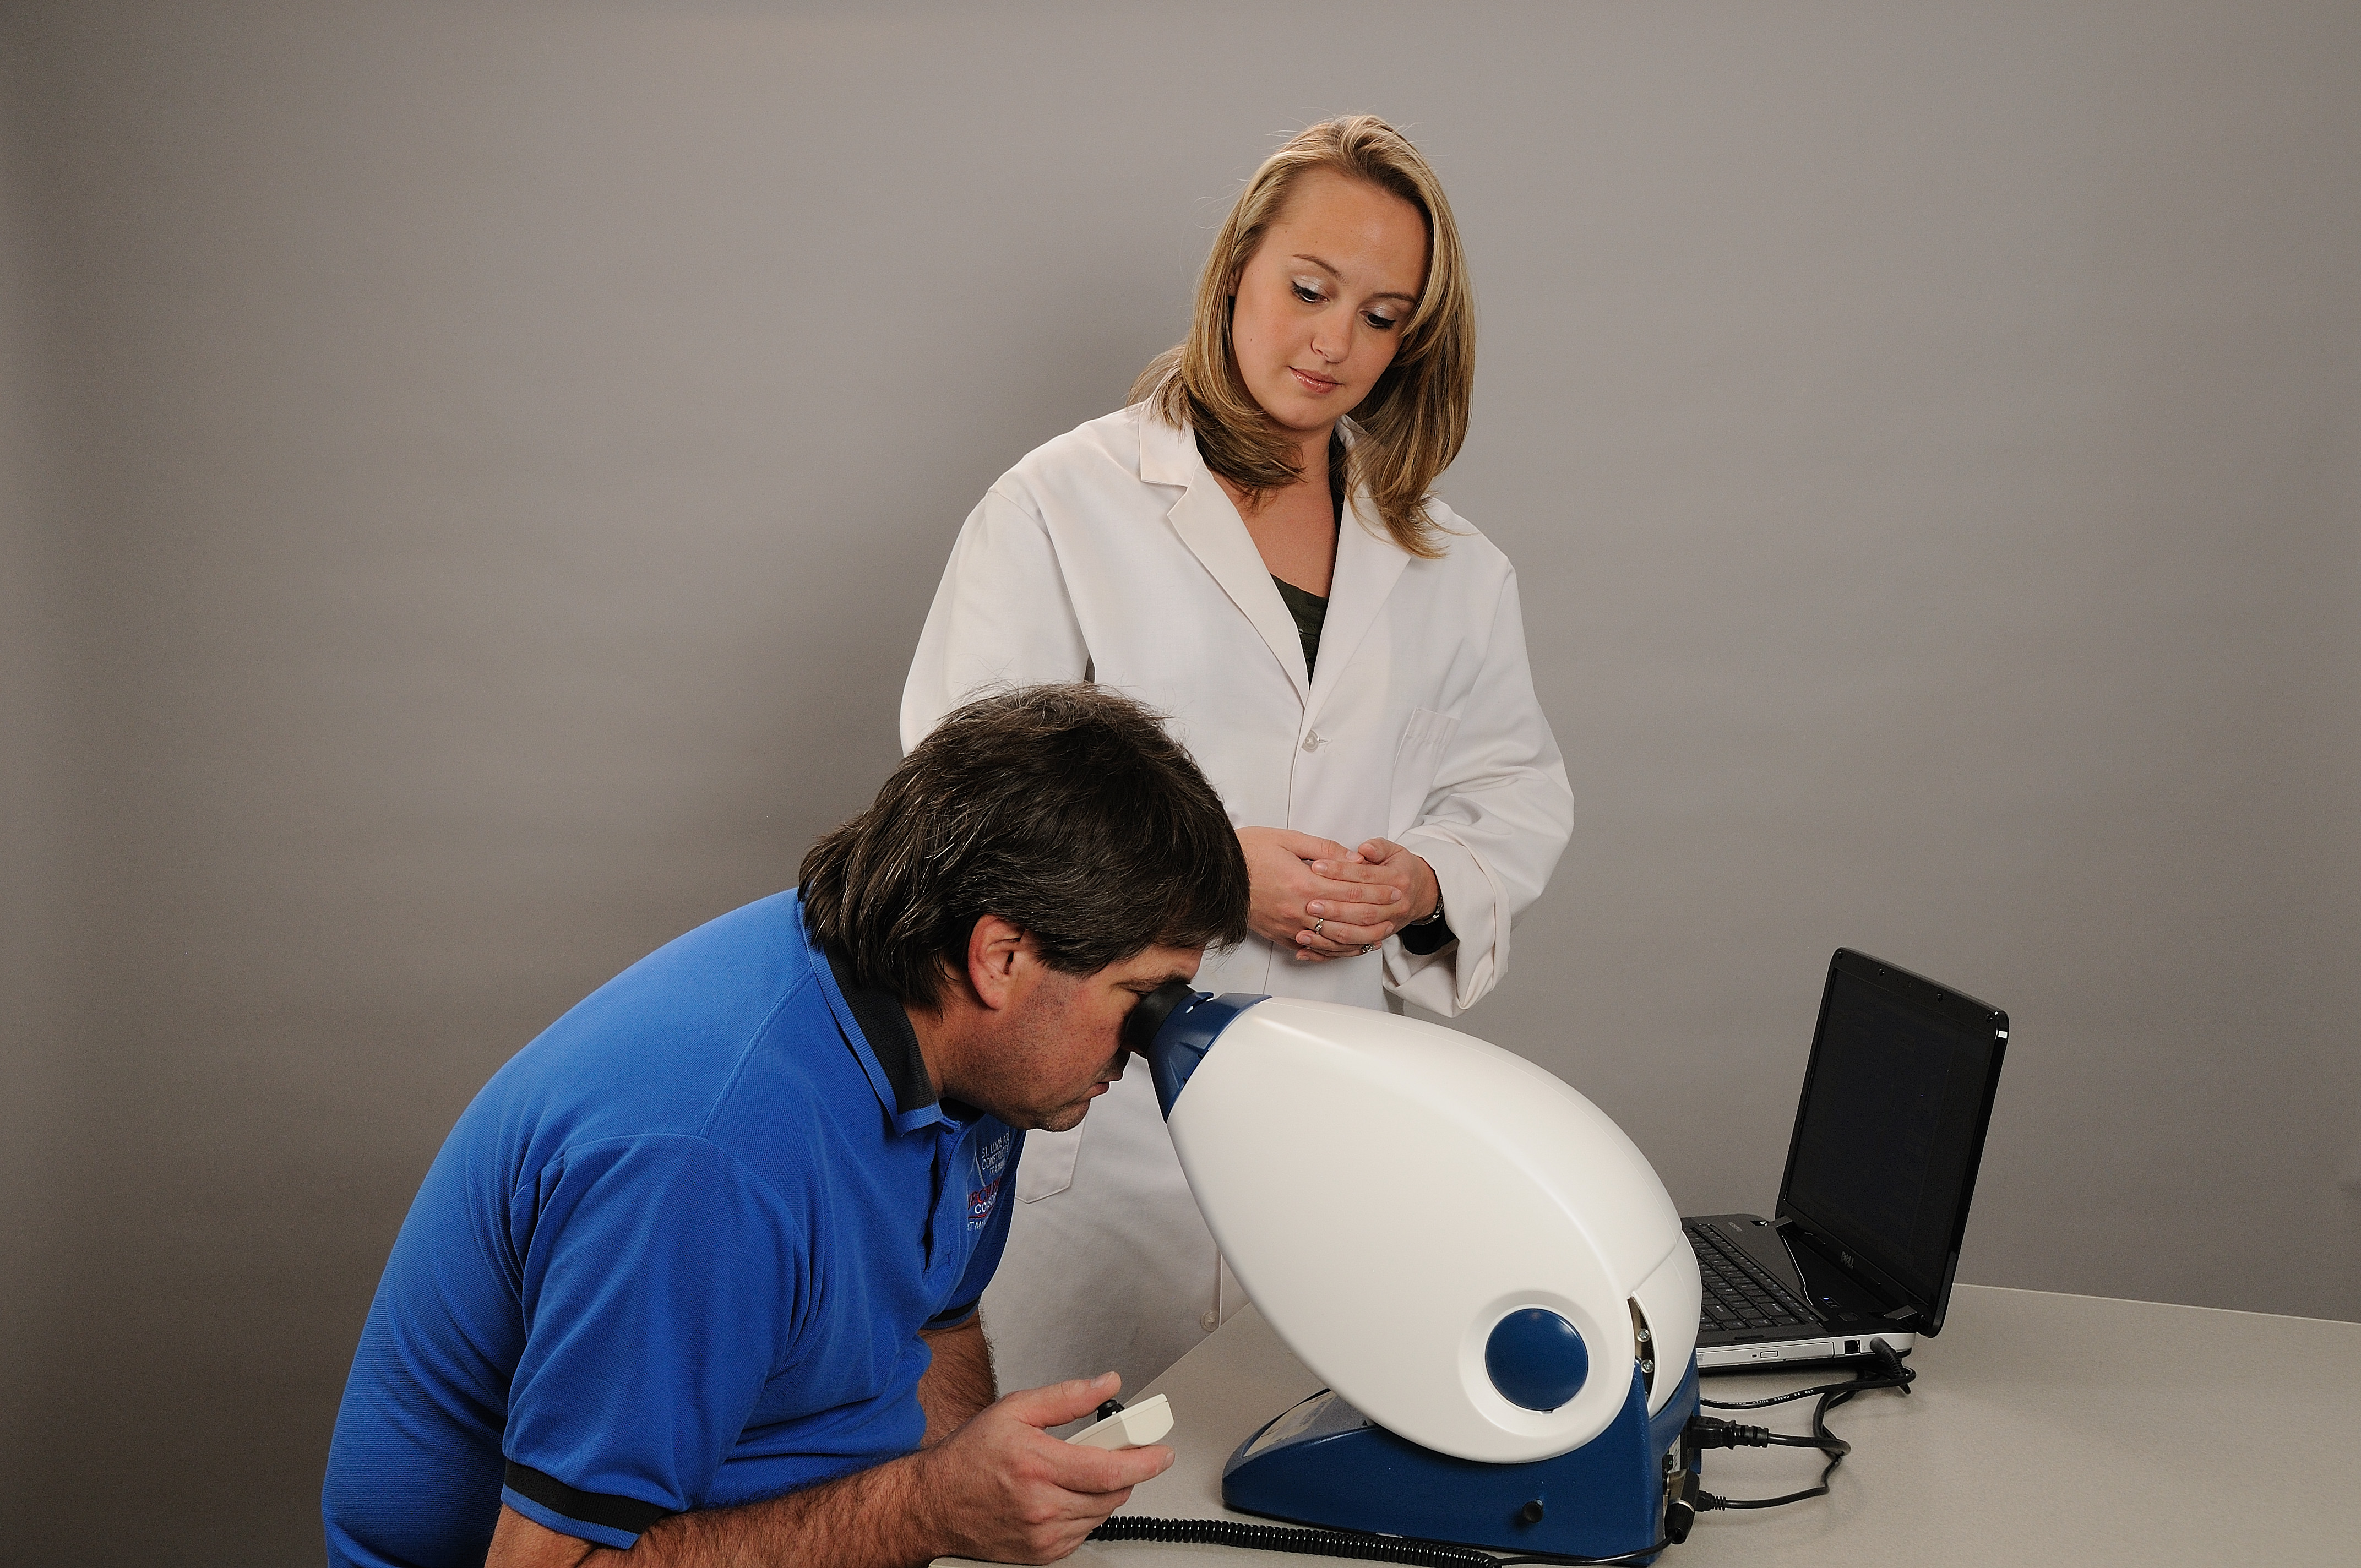
- Action Shot: If your product is dynamic, show it in use. A running shoe in motion, a blender mid-blend, or a tool performing its function.


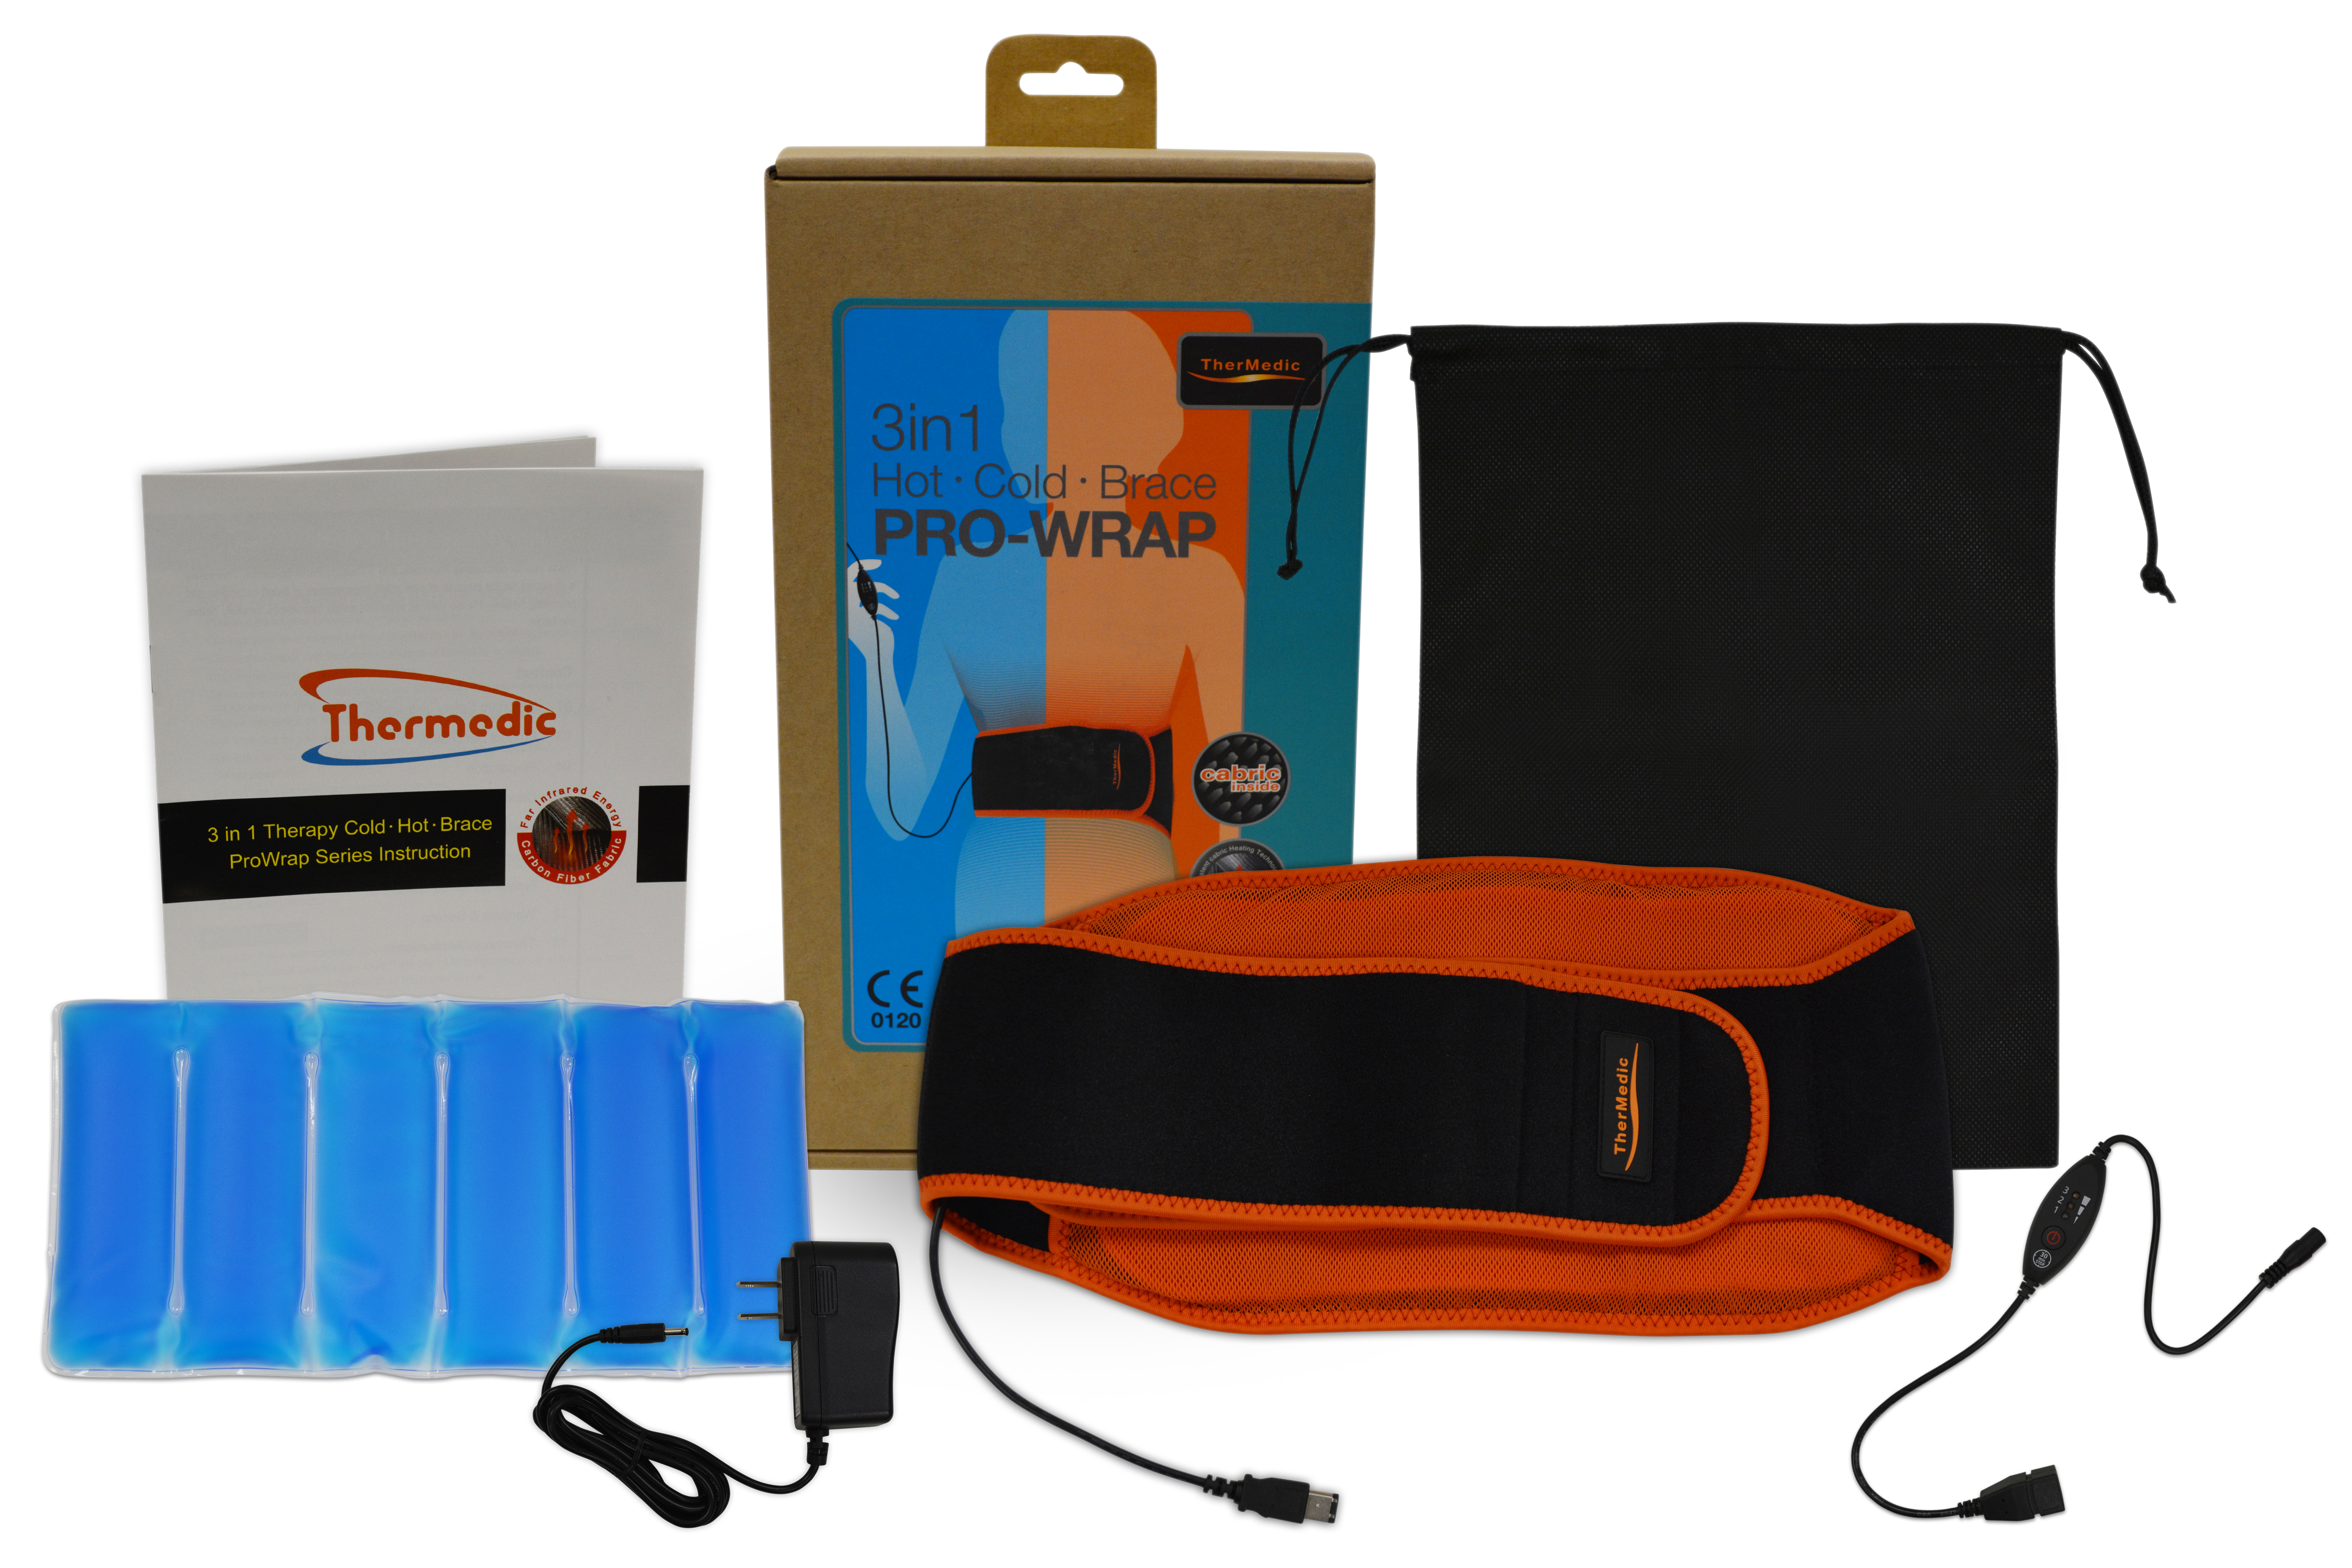
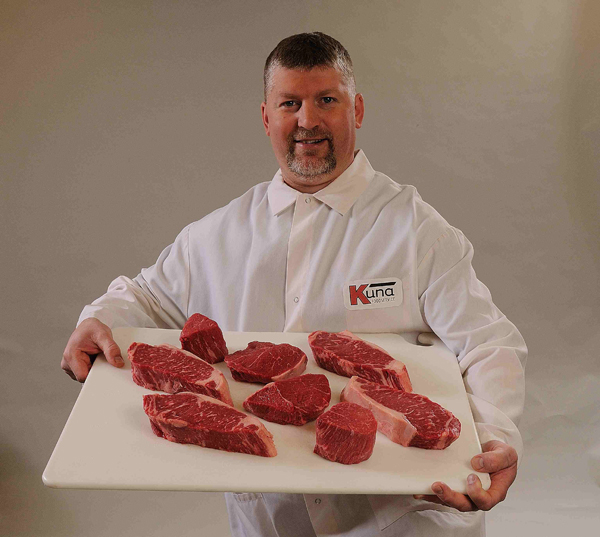
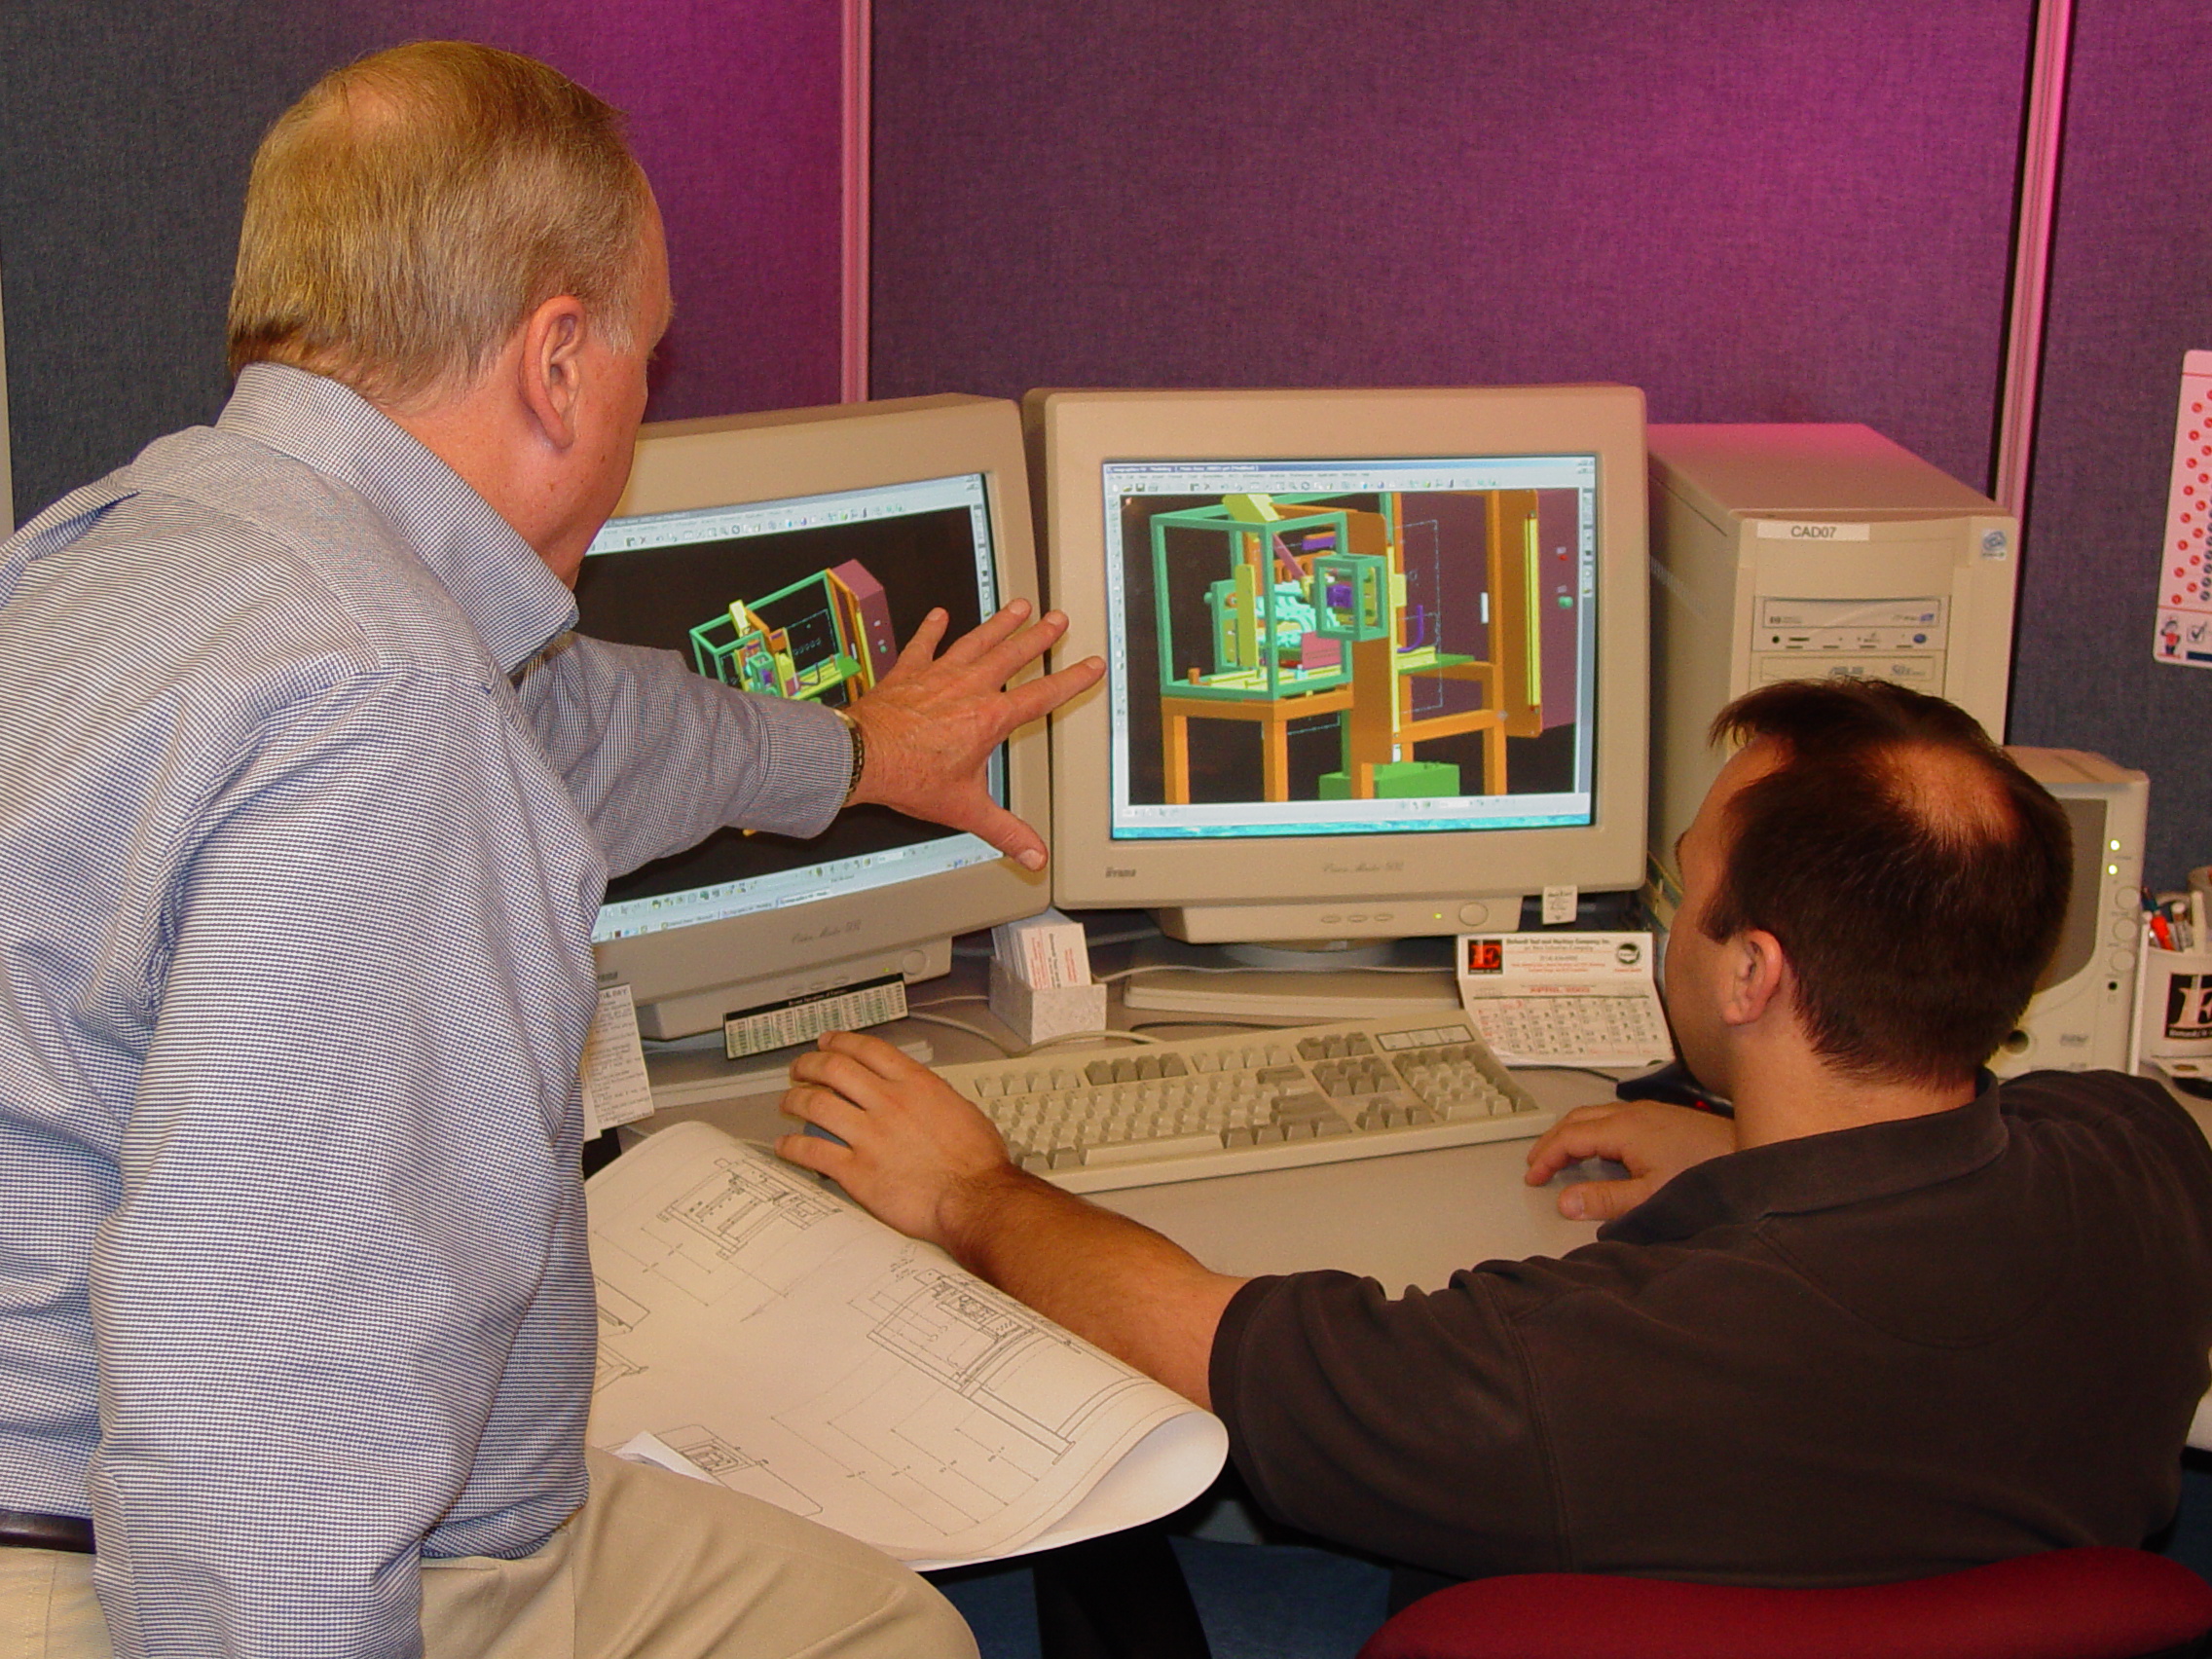
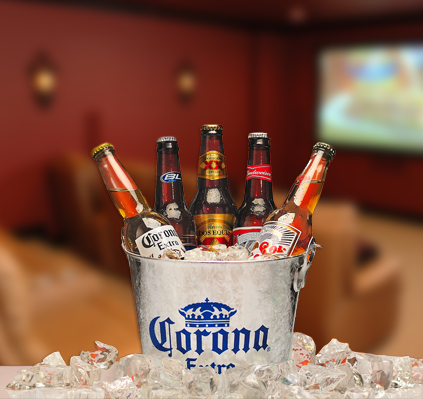
Step 4: Leverage Props with Purpose
Props are powerful storytelling tools, but they must be used judiciously. Every prop should serve a clear purpose, whether it’s to provide scale, add context, enhance aesthetics, or suggest a lifestyle.
- Complementary Colors & Textures: Choose props that harmoniously blend with your product’s design and color palette.
- Scale & Proportion: Use props to give viewers a sense of the product’s actual size. A small coin next to a piece of jewelry, or a hand holding a device.
- Lifestyle & Context: A book next to a reading lamp, a cup of coffee beside a laptop – these props paint a picture of how the product enhances life.
- Subtlety is Key: Avoid clutter. A few well-chosen props are far more effective than a busy, distracting arrangement.
Step 5: The Power of Arrangement and Grouping
When photographing multiple products or components, their arrangement is critical.
- Rule of Thirds: Position your main product or key elements along the intersecting lines or points of an imaginary tic-tac-toe grid for a more dynamic composition.
- Leading Lines: Use elements within your shot to create visual paths that guide the viewer’s eye towards your product.
- Symmetry vs. Asymmetry: Symmetrical arrangements can convey balance and formality, while asymmetrical layouts often feel more natural and dynamic.
- Depth of Field: Utilize shallow depth of field to isolate your product and create a pleasing, professional blur in the foreground and background. This draws attention directly to your hero product.
Step 6: Light It Right
While not strictly “posing,” lighting is inextricably linked to how your product’s form, texture, and details are revealed. Strategic lighting can sculpt your product, eliminate harsh shadows, and create mood.
- Soft, Diffused Light: Often the most flattering for products, minimizing harsh reflections and revealing details evenly. Think large softboxes or natural light from a window.
- Directional Light: Use harder light sources to emphasize texture, create dramatic shadows, and add depth.
- Fill Light: Use reflectors or a secondary light source to lift shadows and ensure all aspects of the product are visible.
- Backlighting/Rim Lighting: Can create a beautiful halo effect around your product, separating it from the background and adding dimension.
Step 7: Iterate and Refine
Product photography is an iterative process. Don’t settle for the first good shot.
- Shoot from multiple angles.
- Experiment with different prop arrangements.
- Adjust lighting subtly.
- Review your shots critically. What works? What doesn’t? How can you improve?
By meticulously following these steps, you will transform your product photography from mere documentation into compelling visual narratives that resonate with your audience and drive business results.
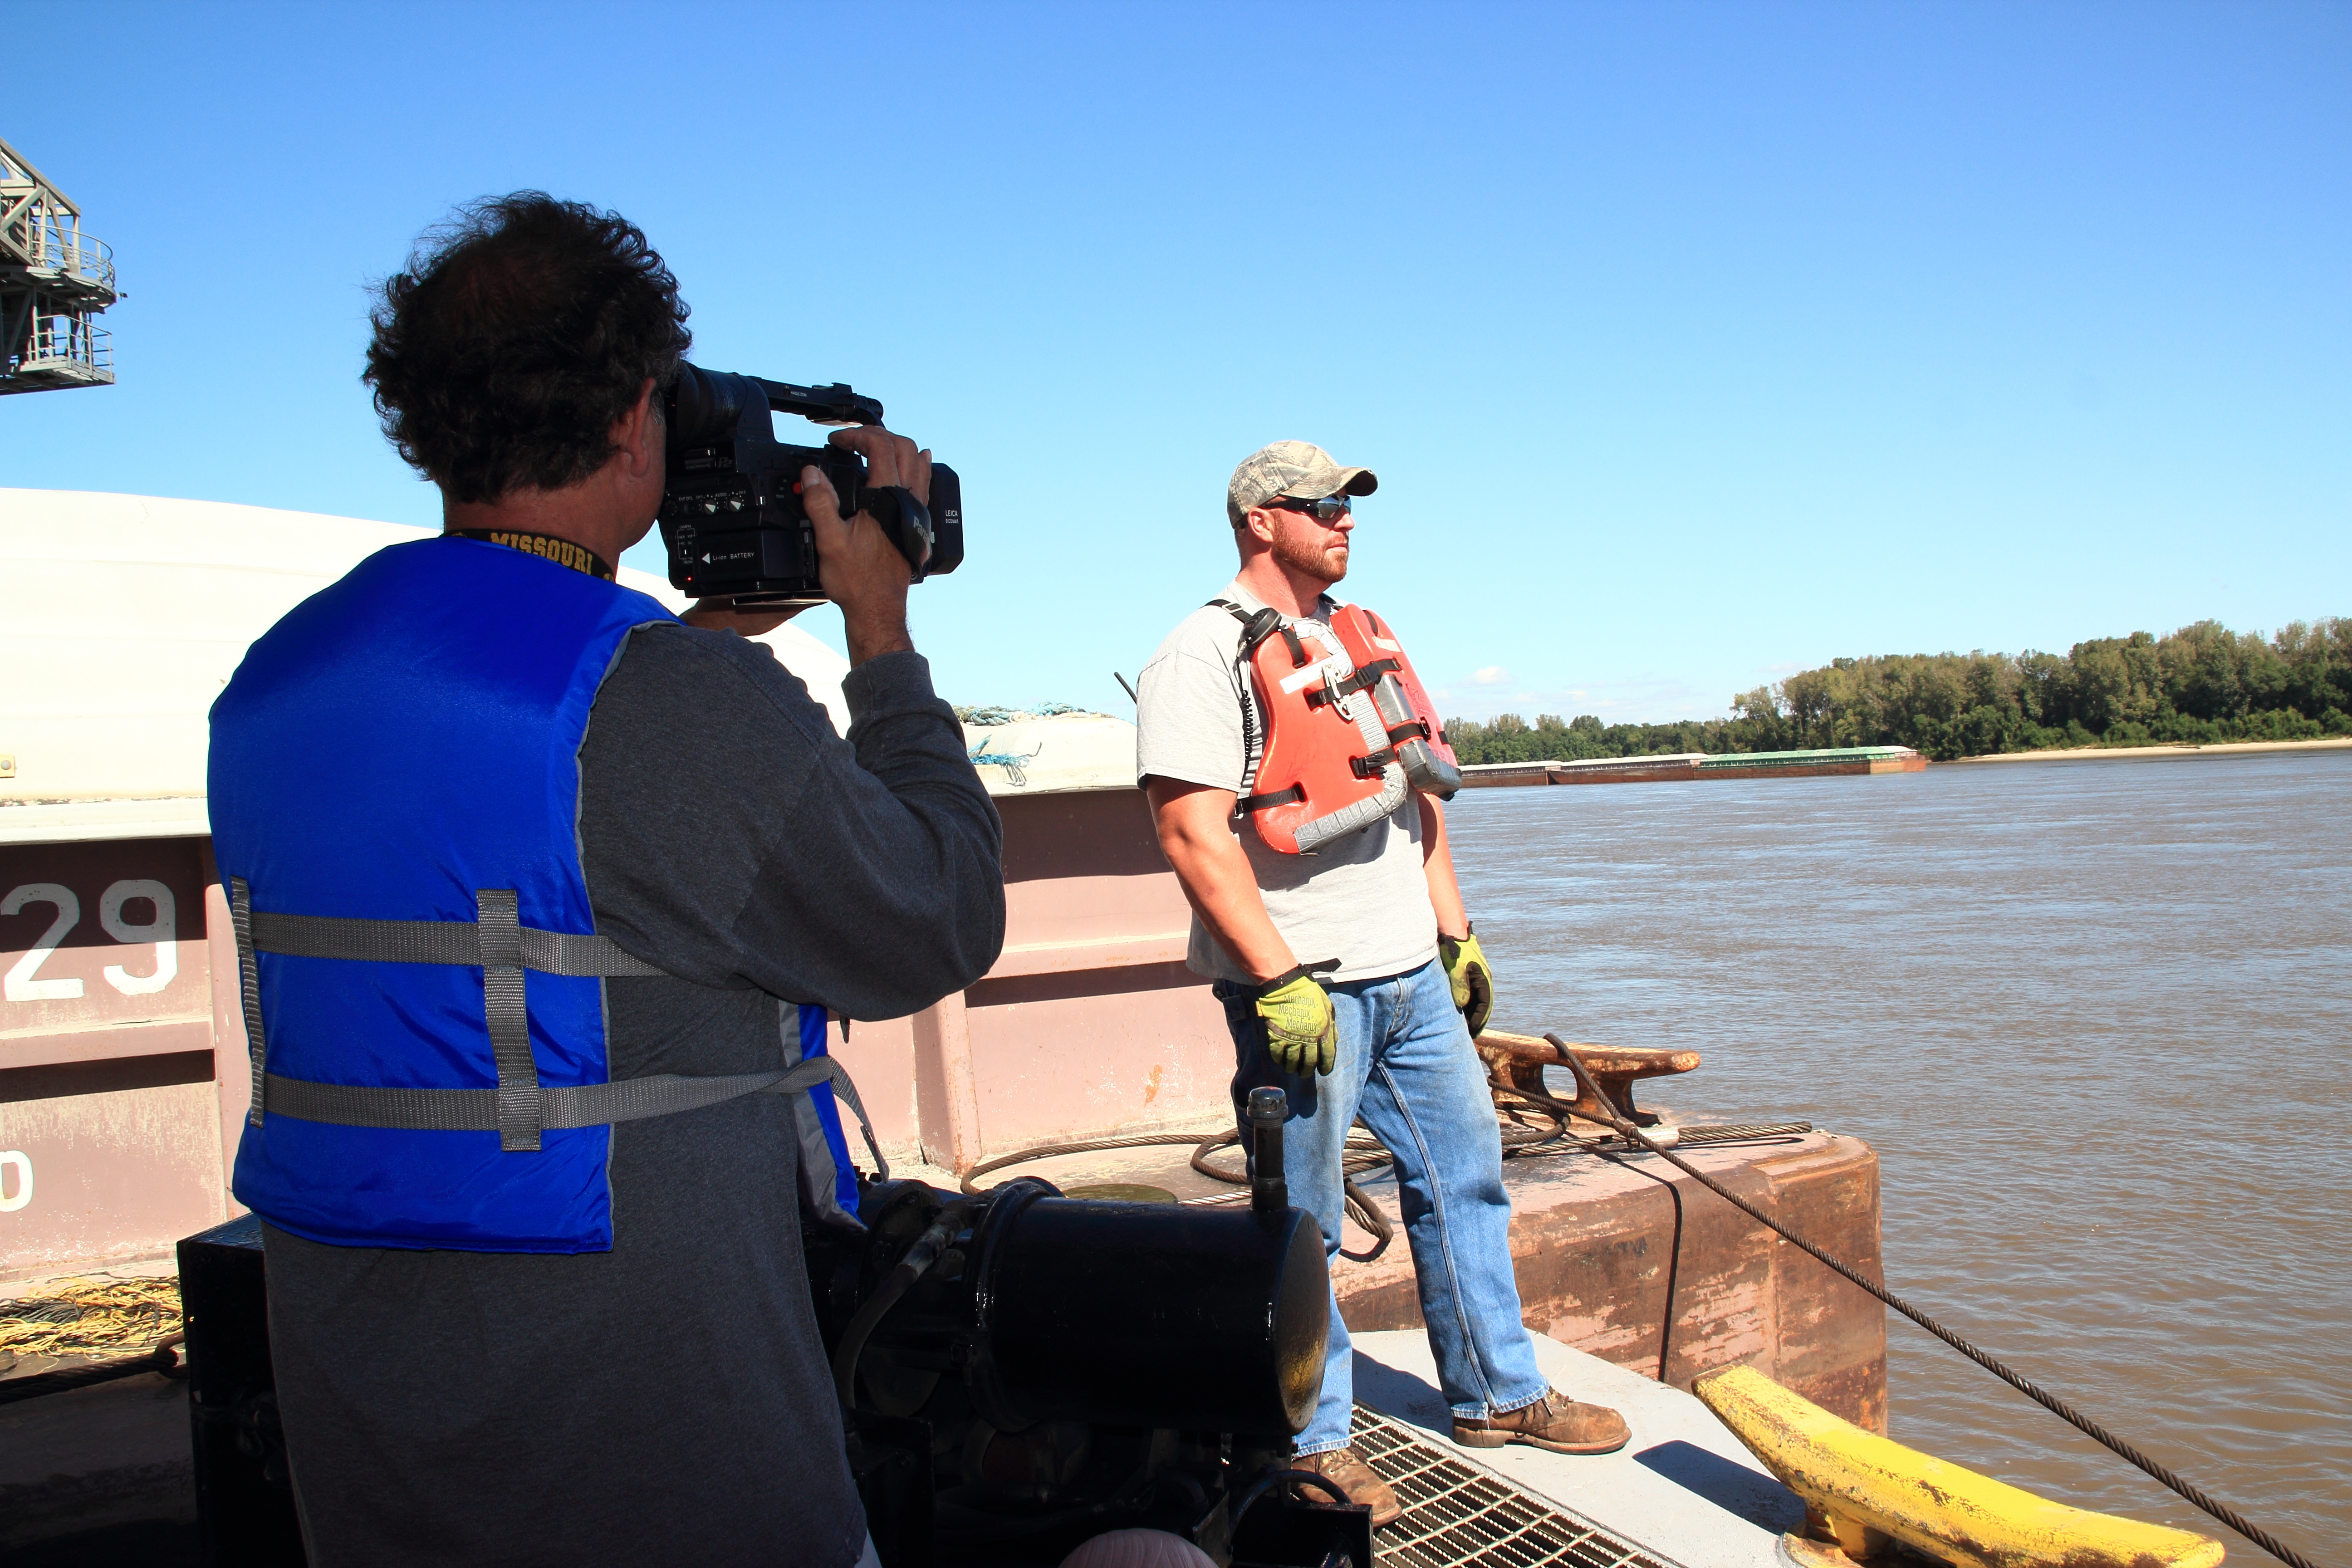
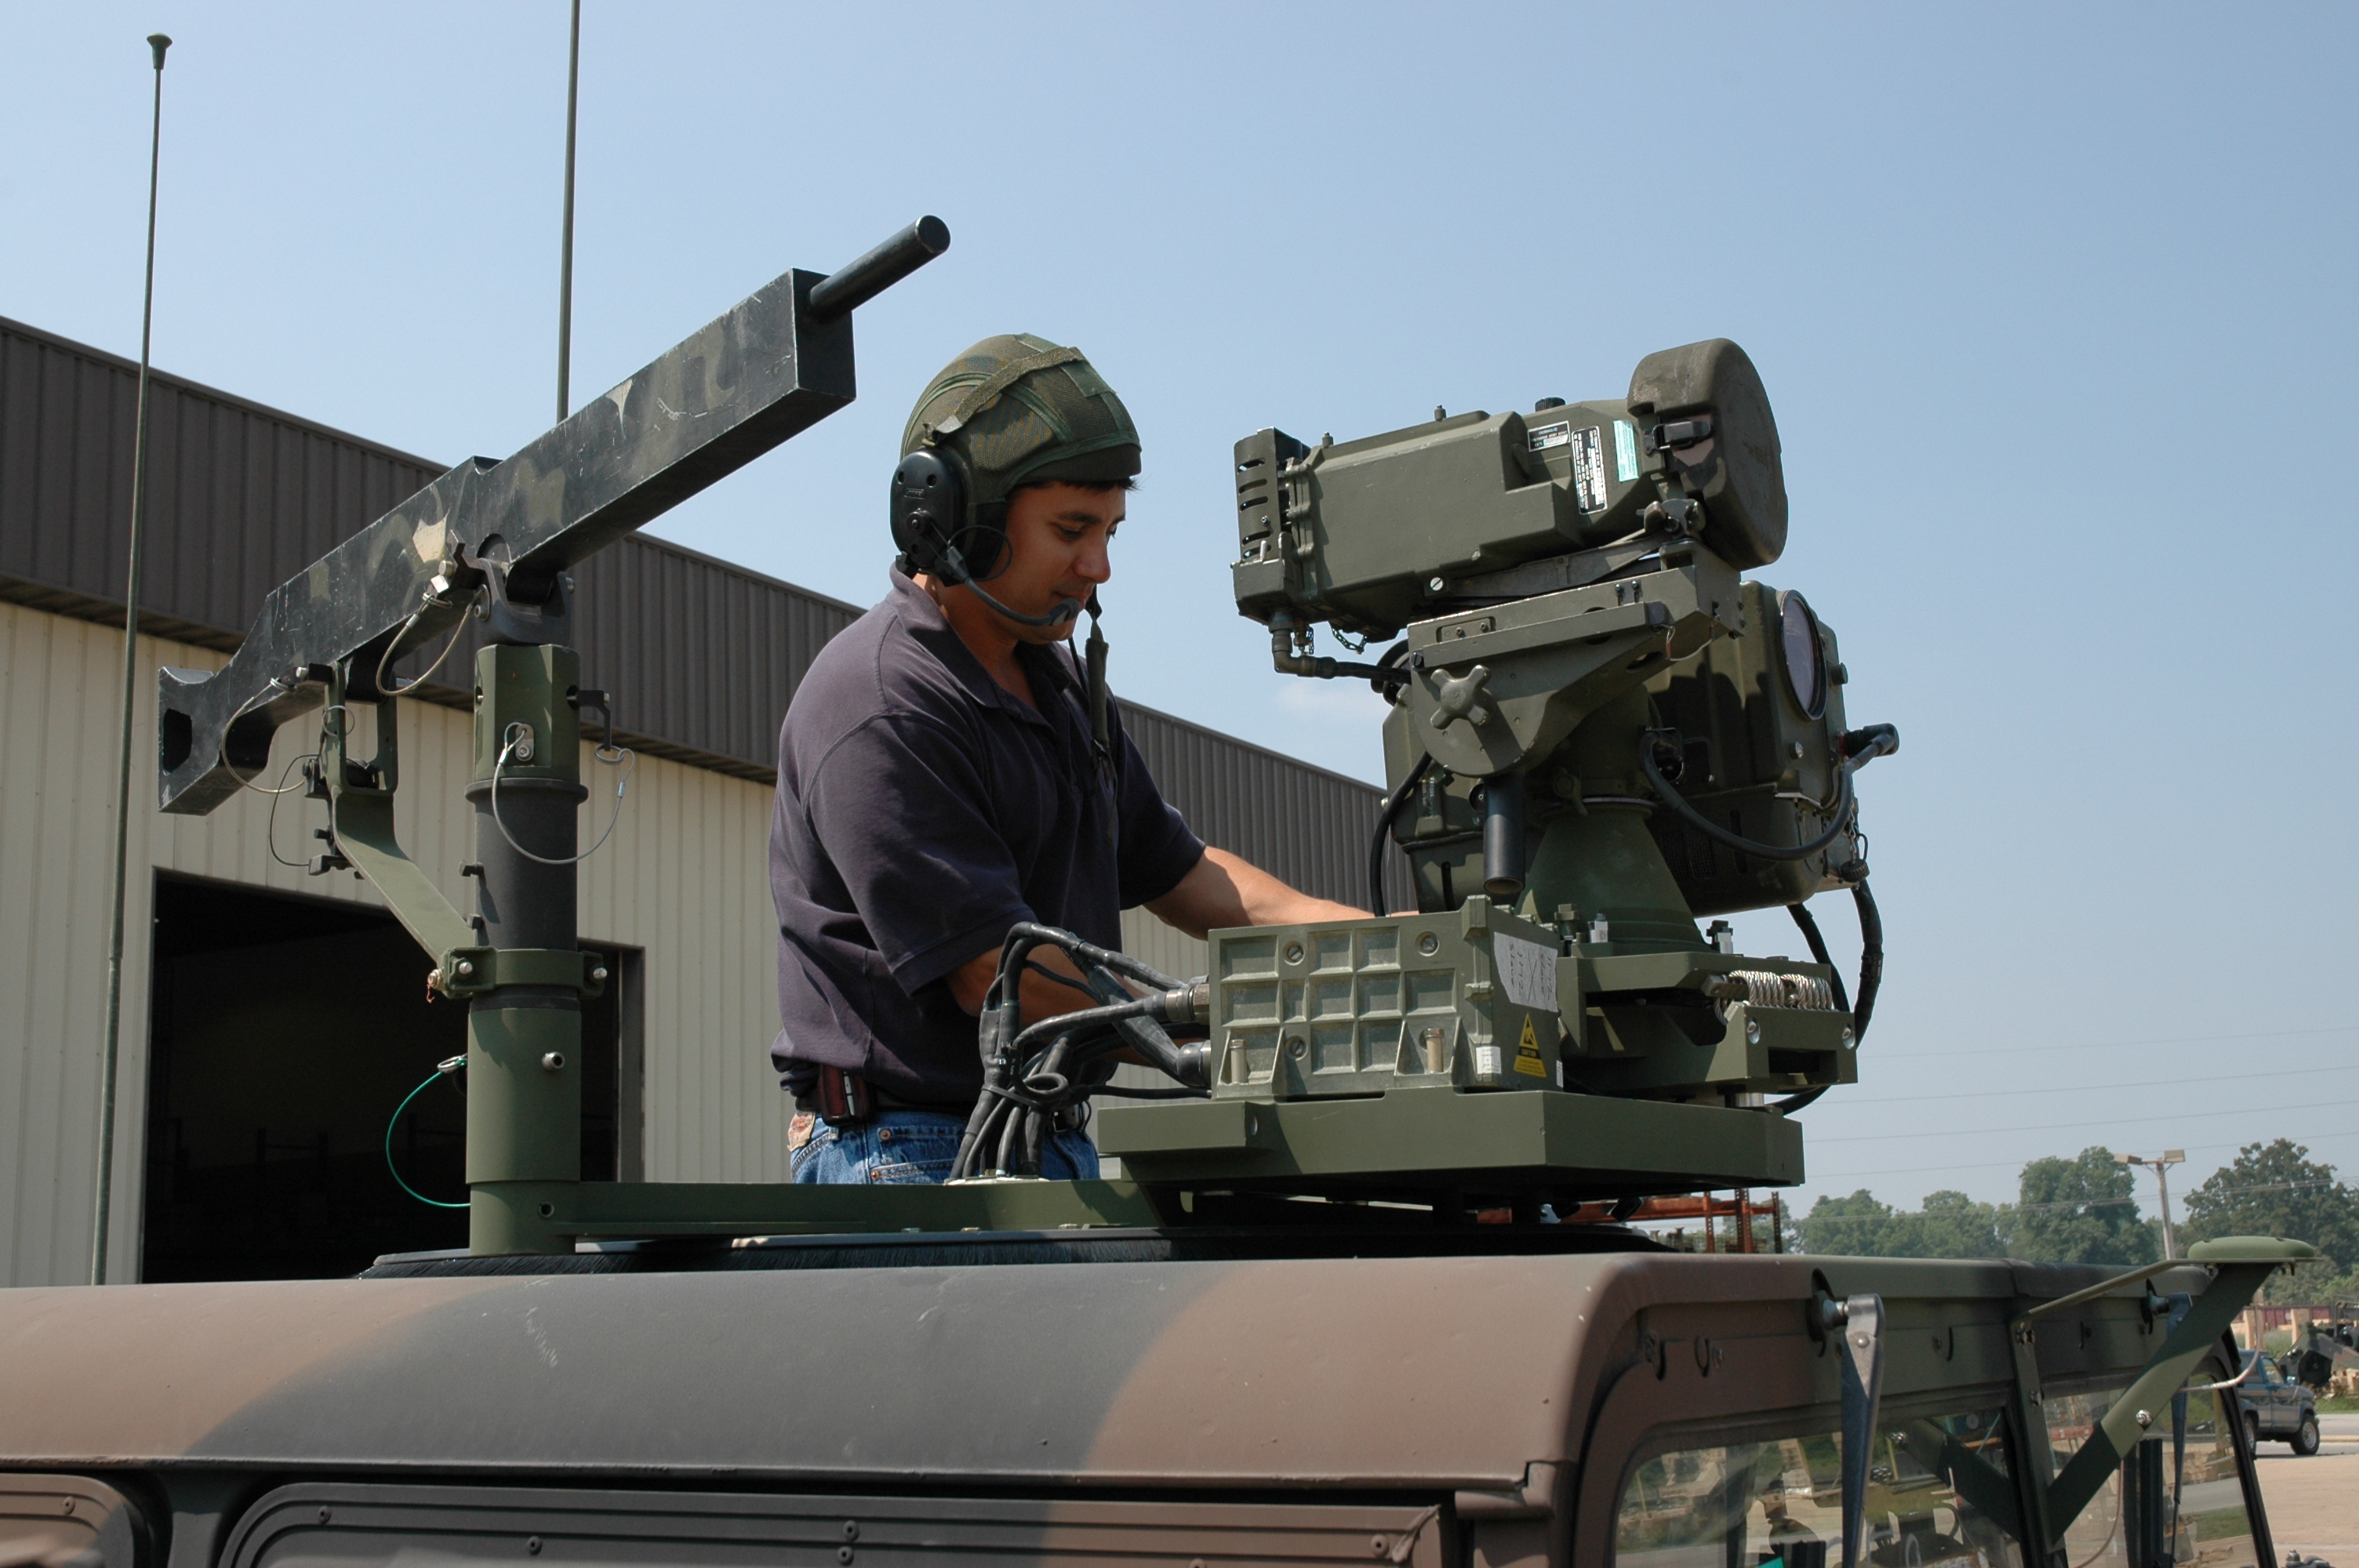
At St Louis Commercial Photographers, we understand that successful image acquisition is about more than just a camera and a click. With decades of experience since 1982, we are a full-service professional commercial photography and video production company, equipped with the right equipment and a creative crew dedicated to your success.


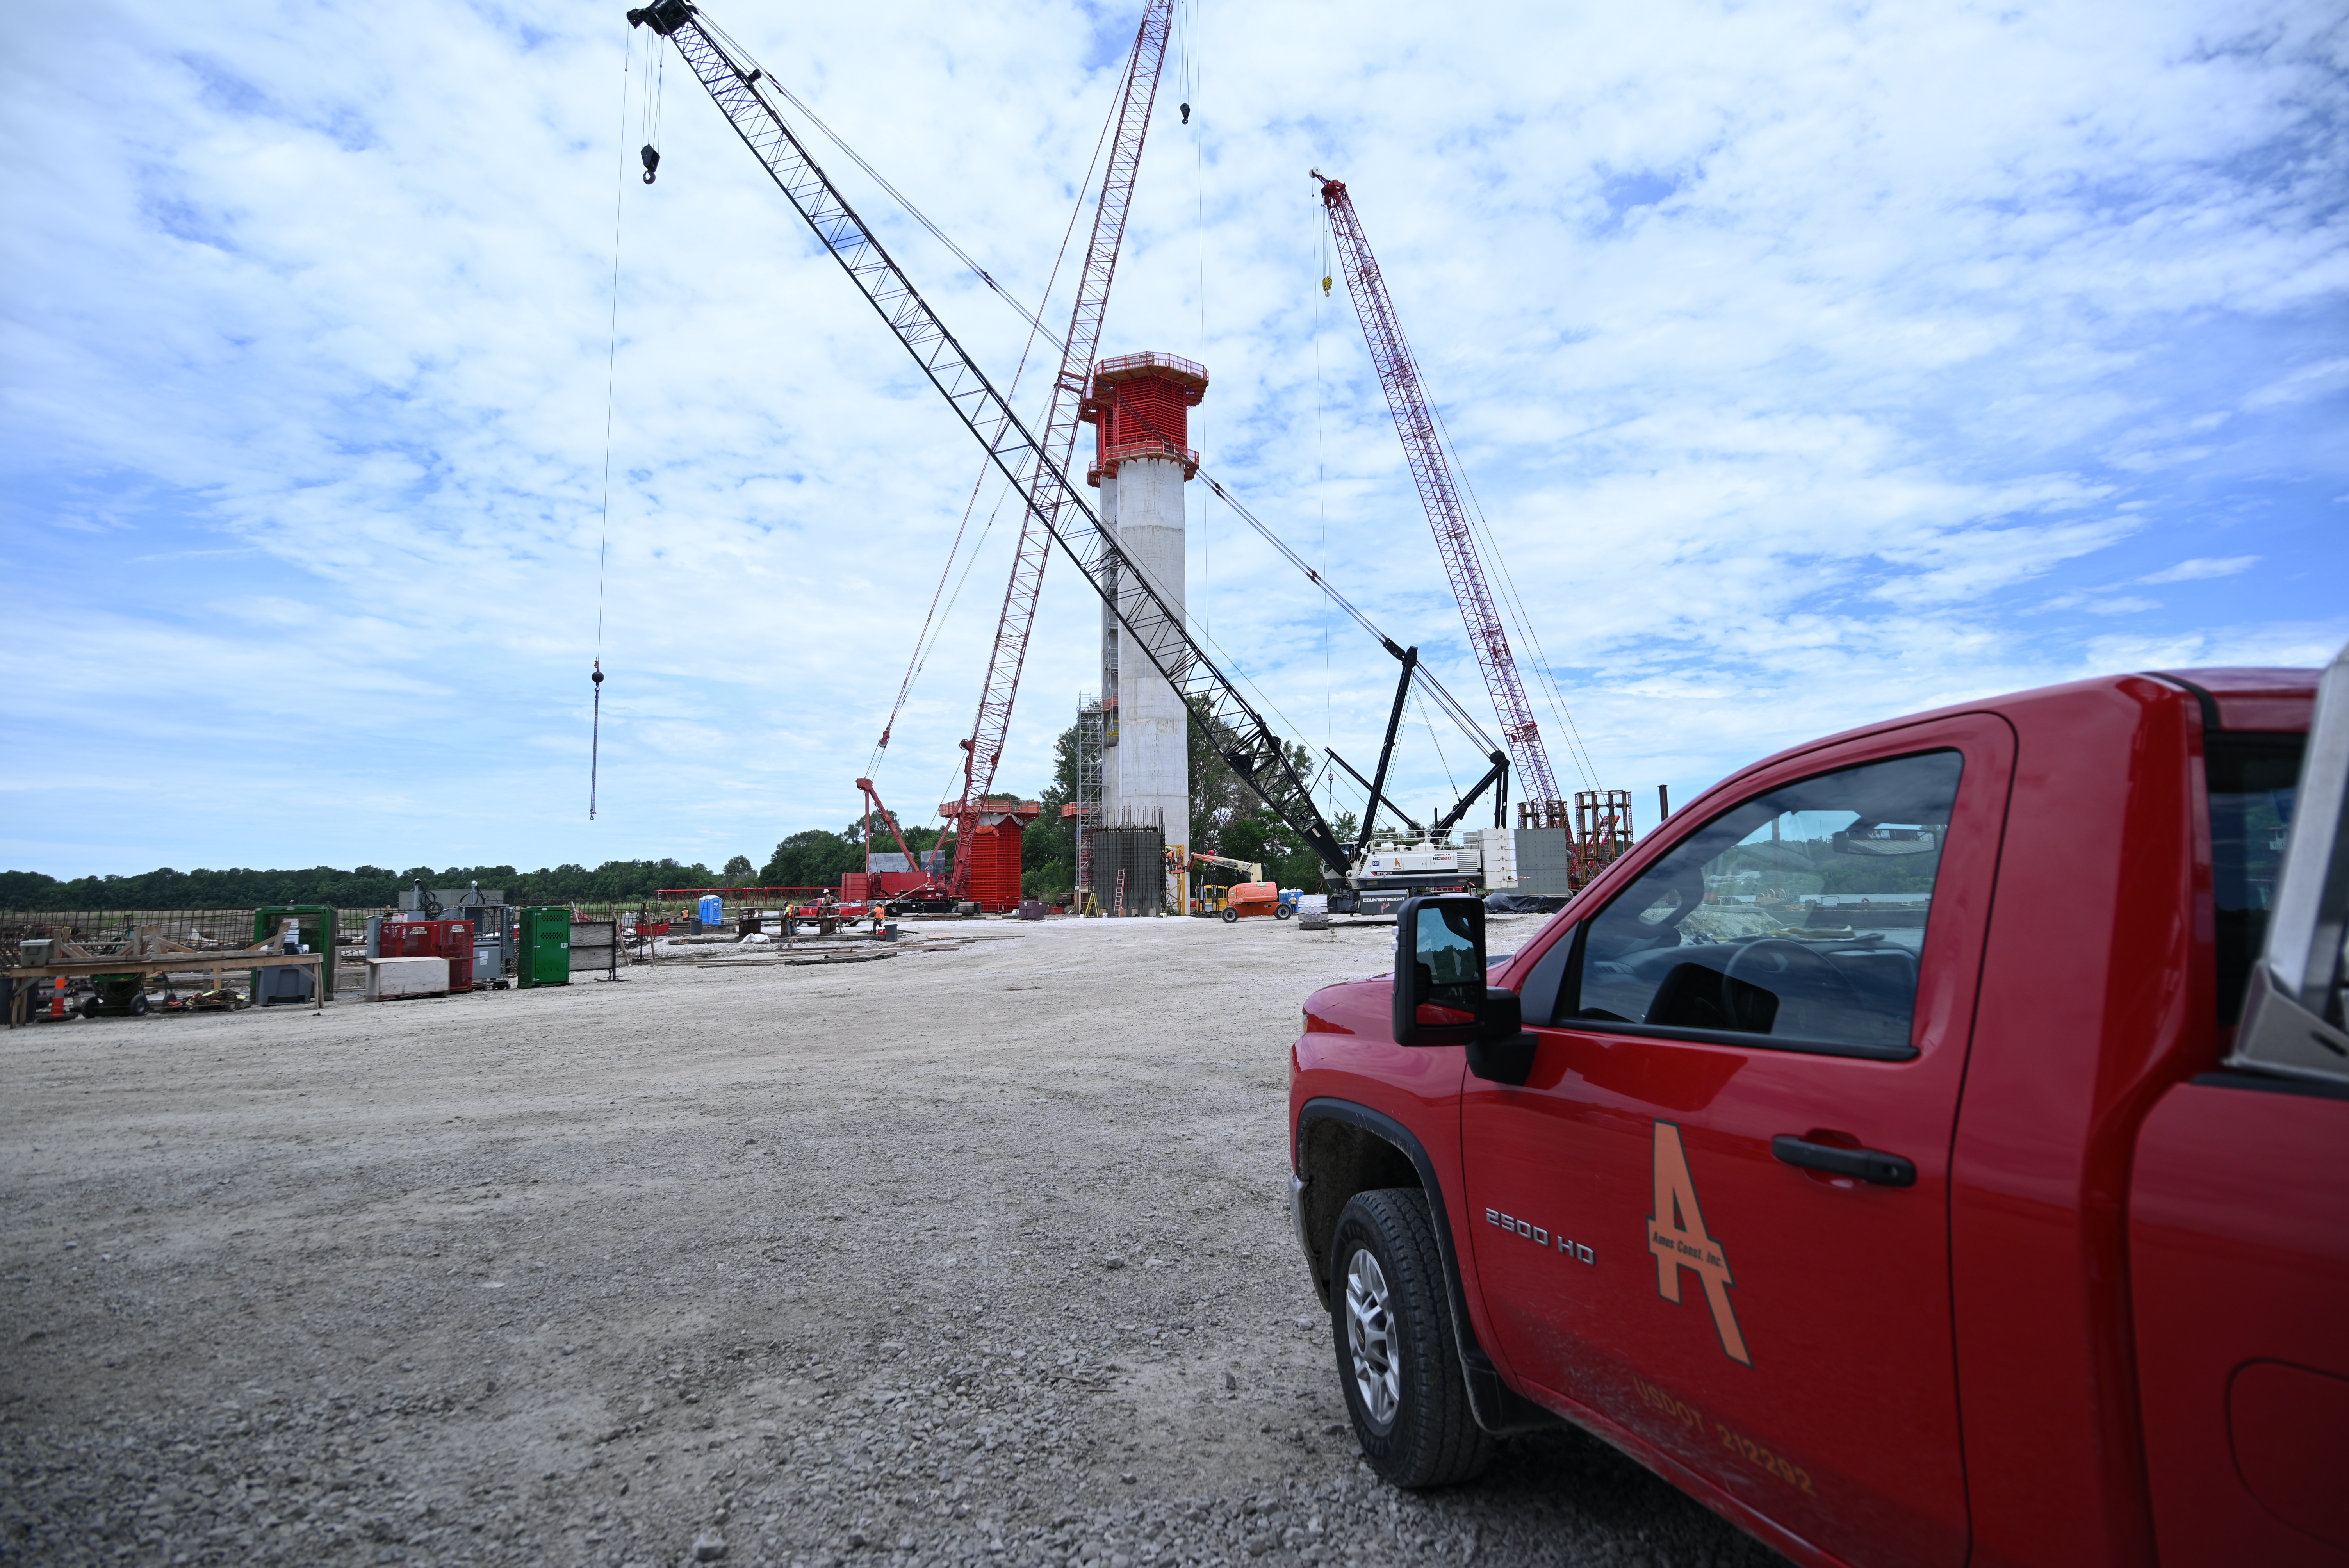
We offer comprehensive studio and location video and photography services, alongside expert editing, post-production, and even licensed drone pilots for captivating aerial perspectives. St Louis Commercial Photographers excels at customizing productions for diverse media requirements, and we specialize in repurposing your photography and video branding to gain maximum traction across all platforms. We are well-versed in all file types, media styles, and accompanying software, staying ahead of the curve by utilizing the latest in Artificial Intelligence for all our media services.
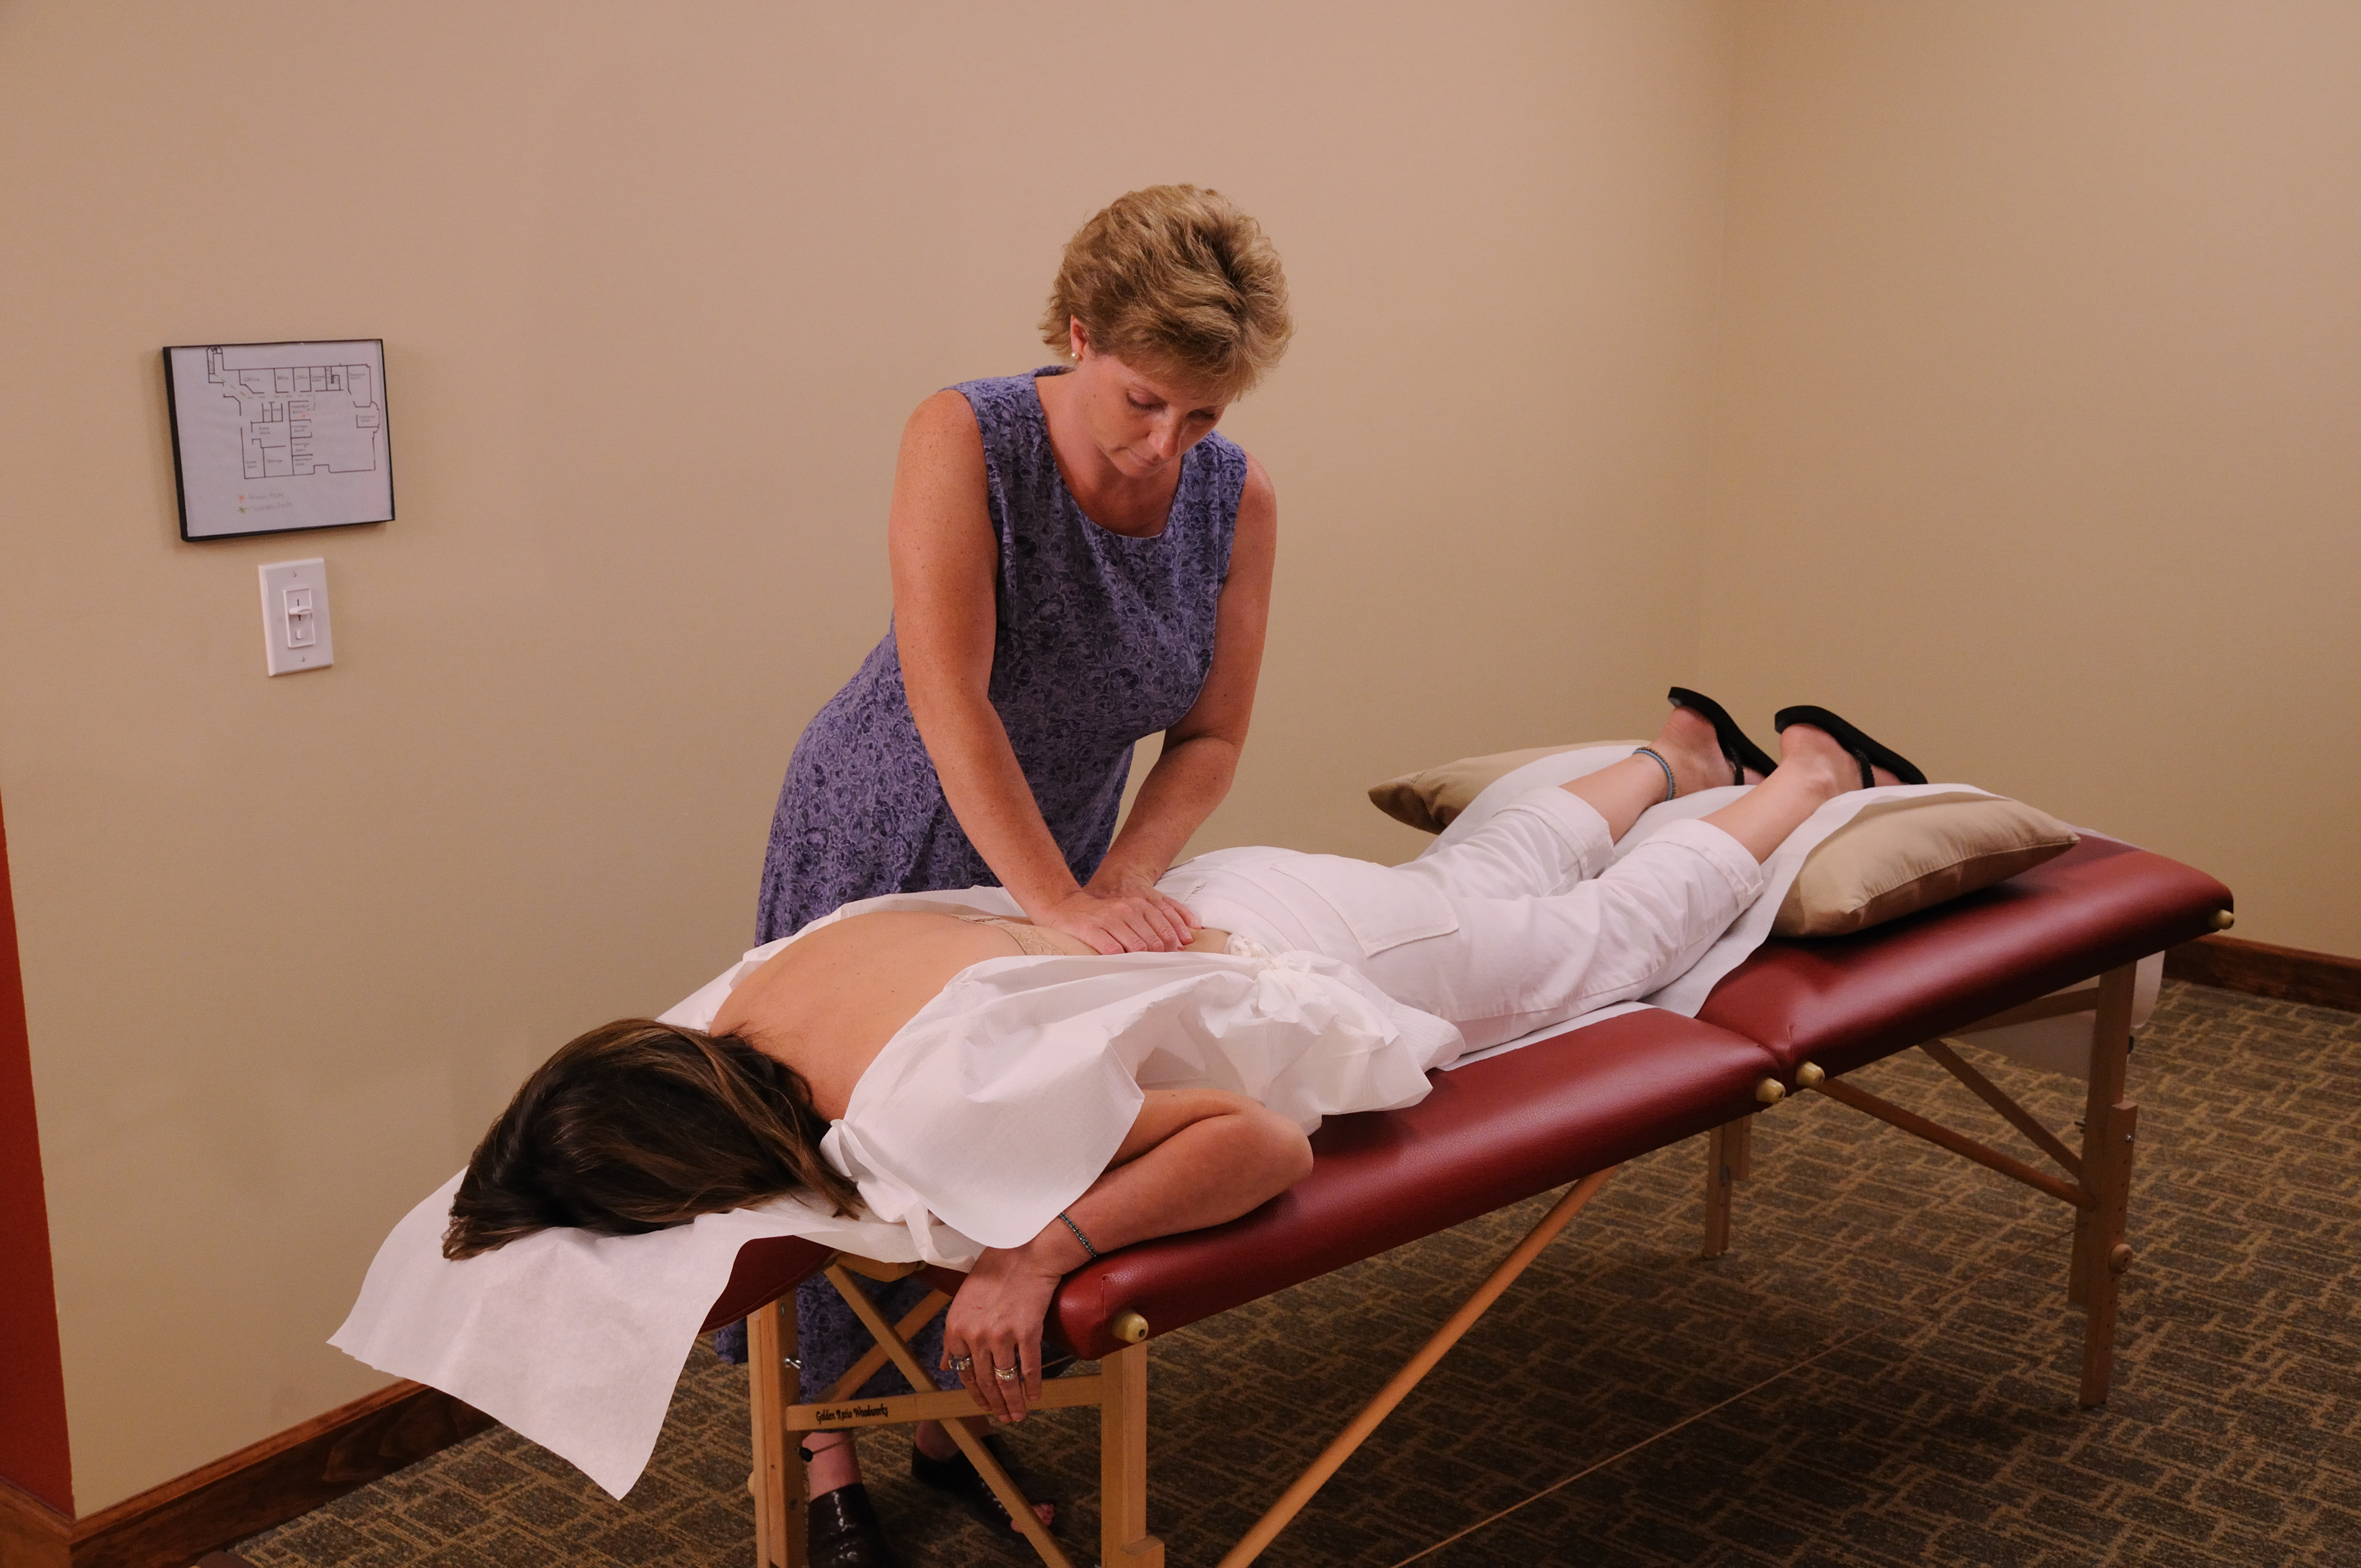
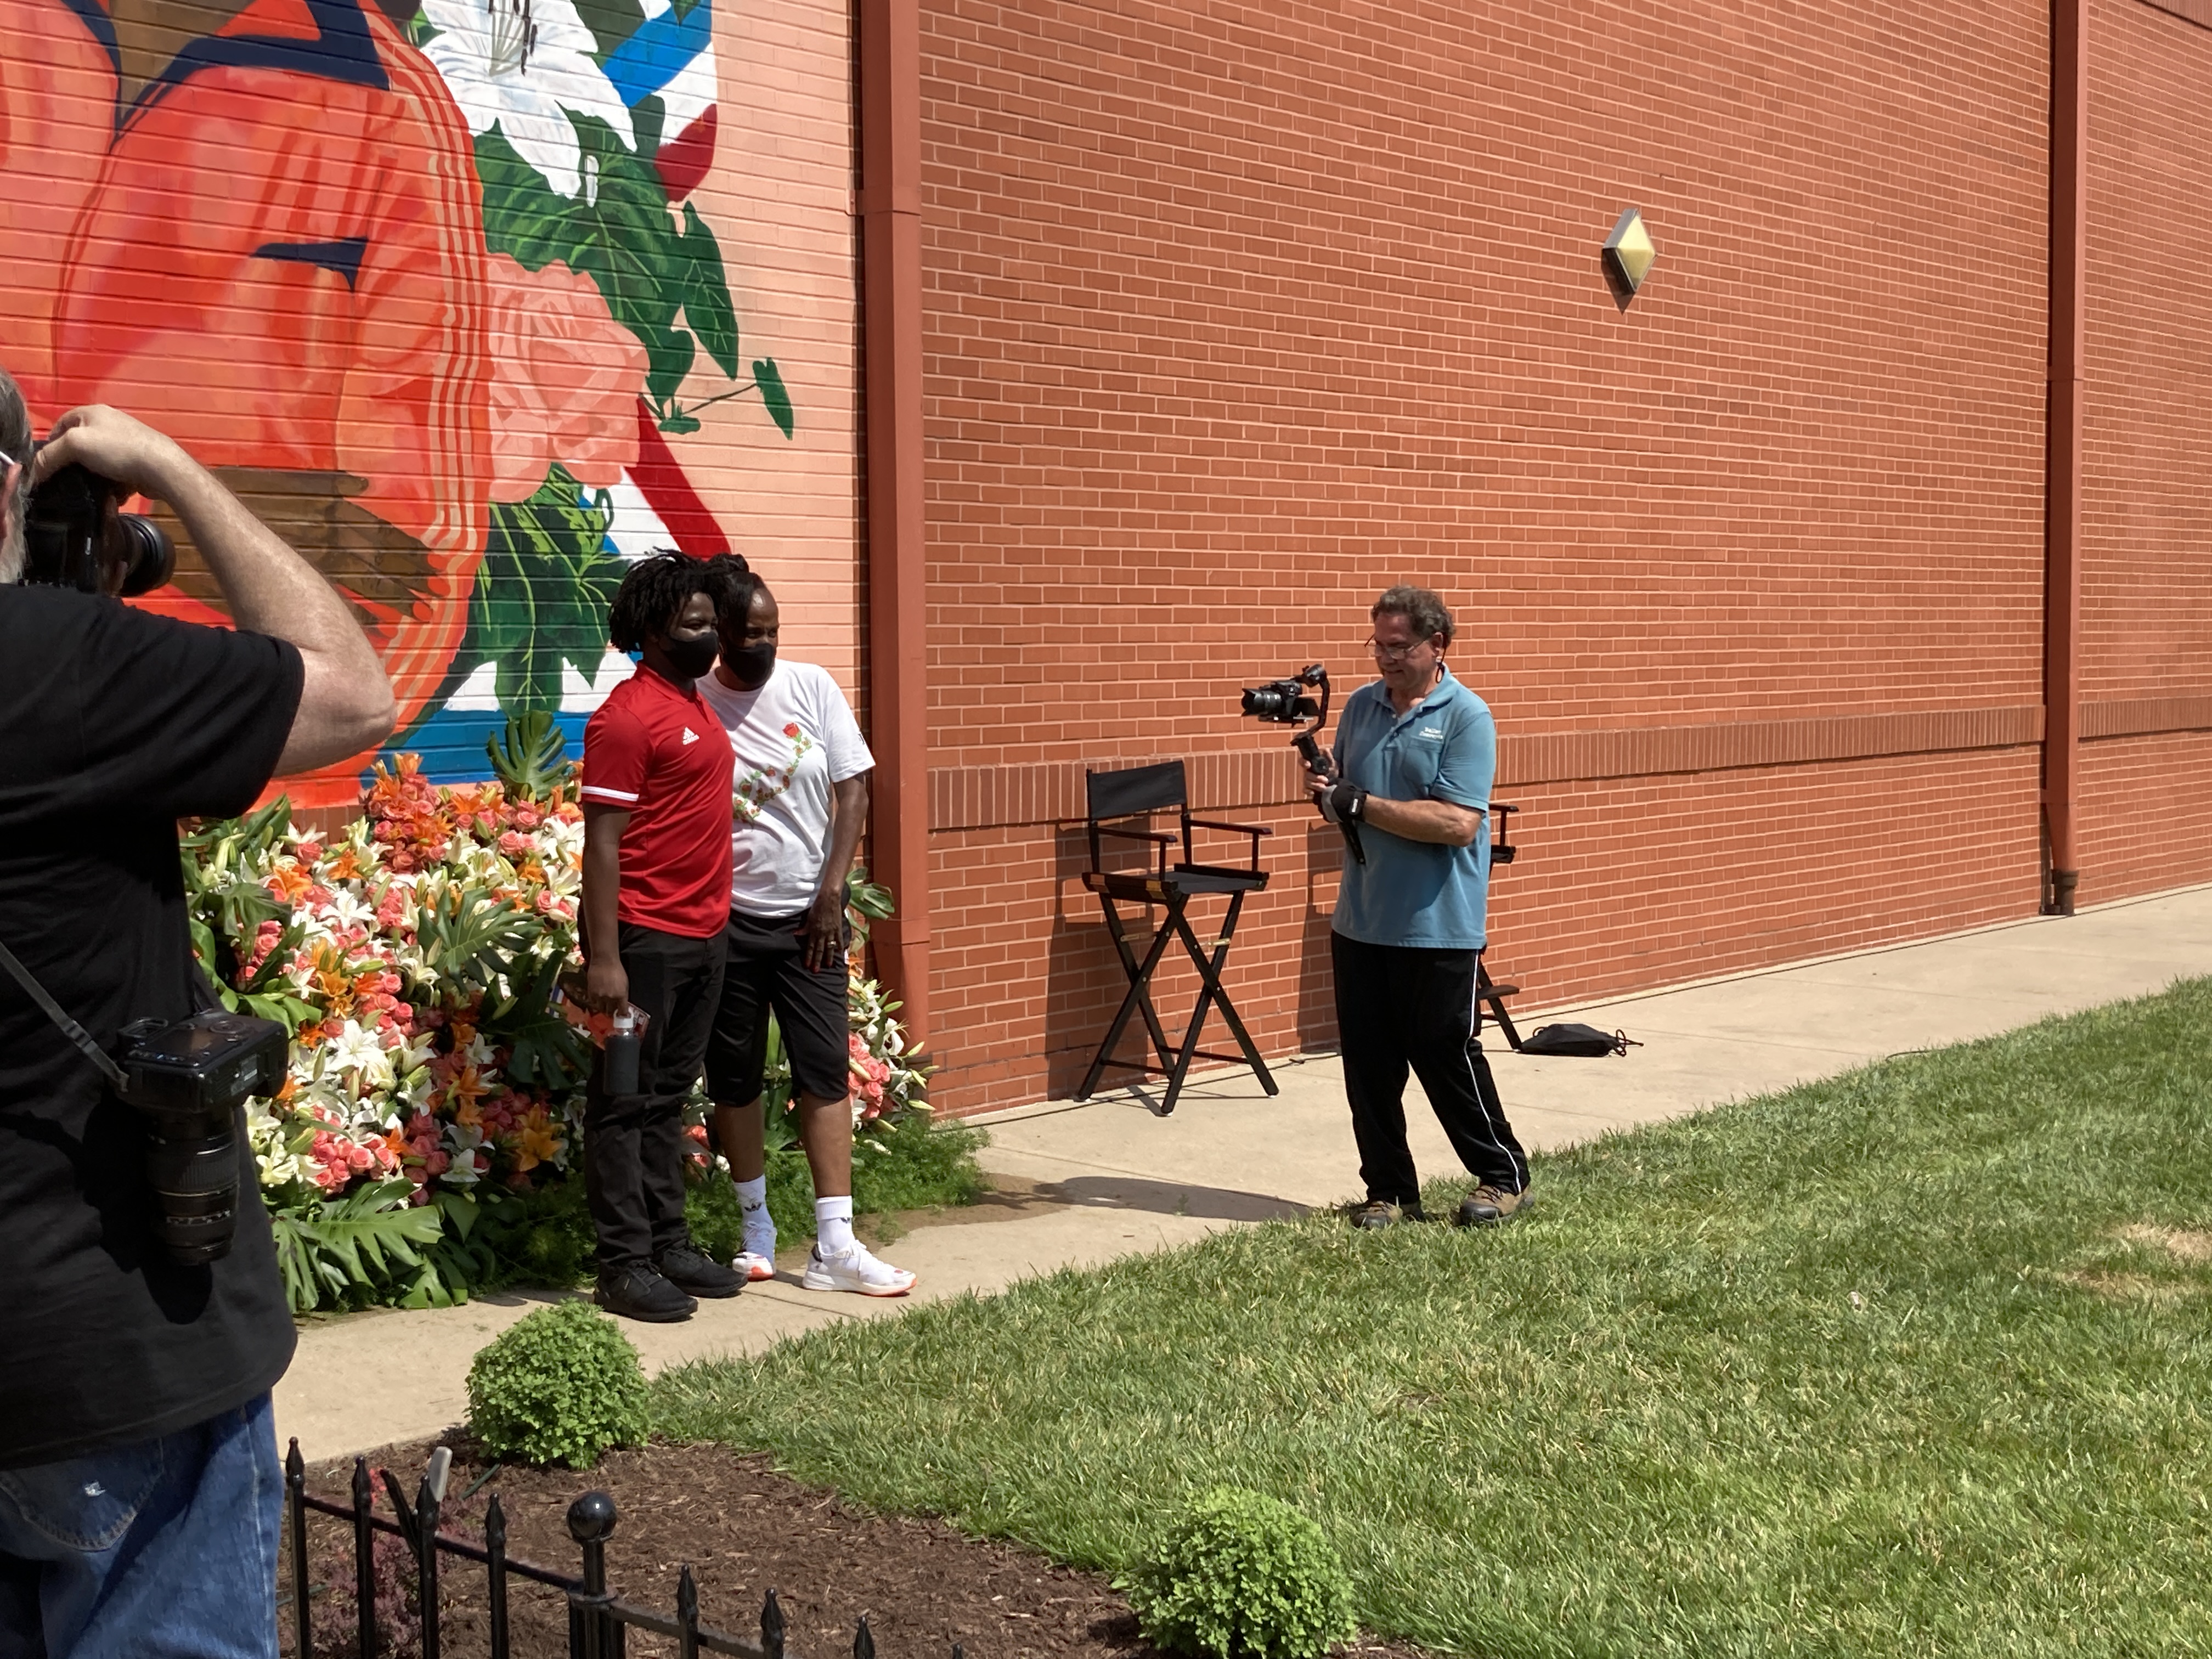
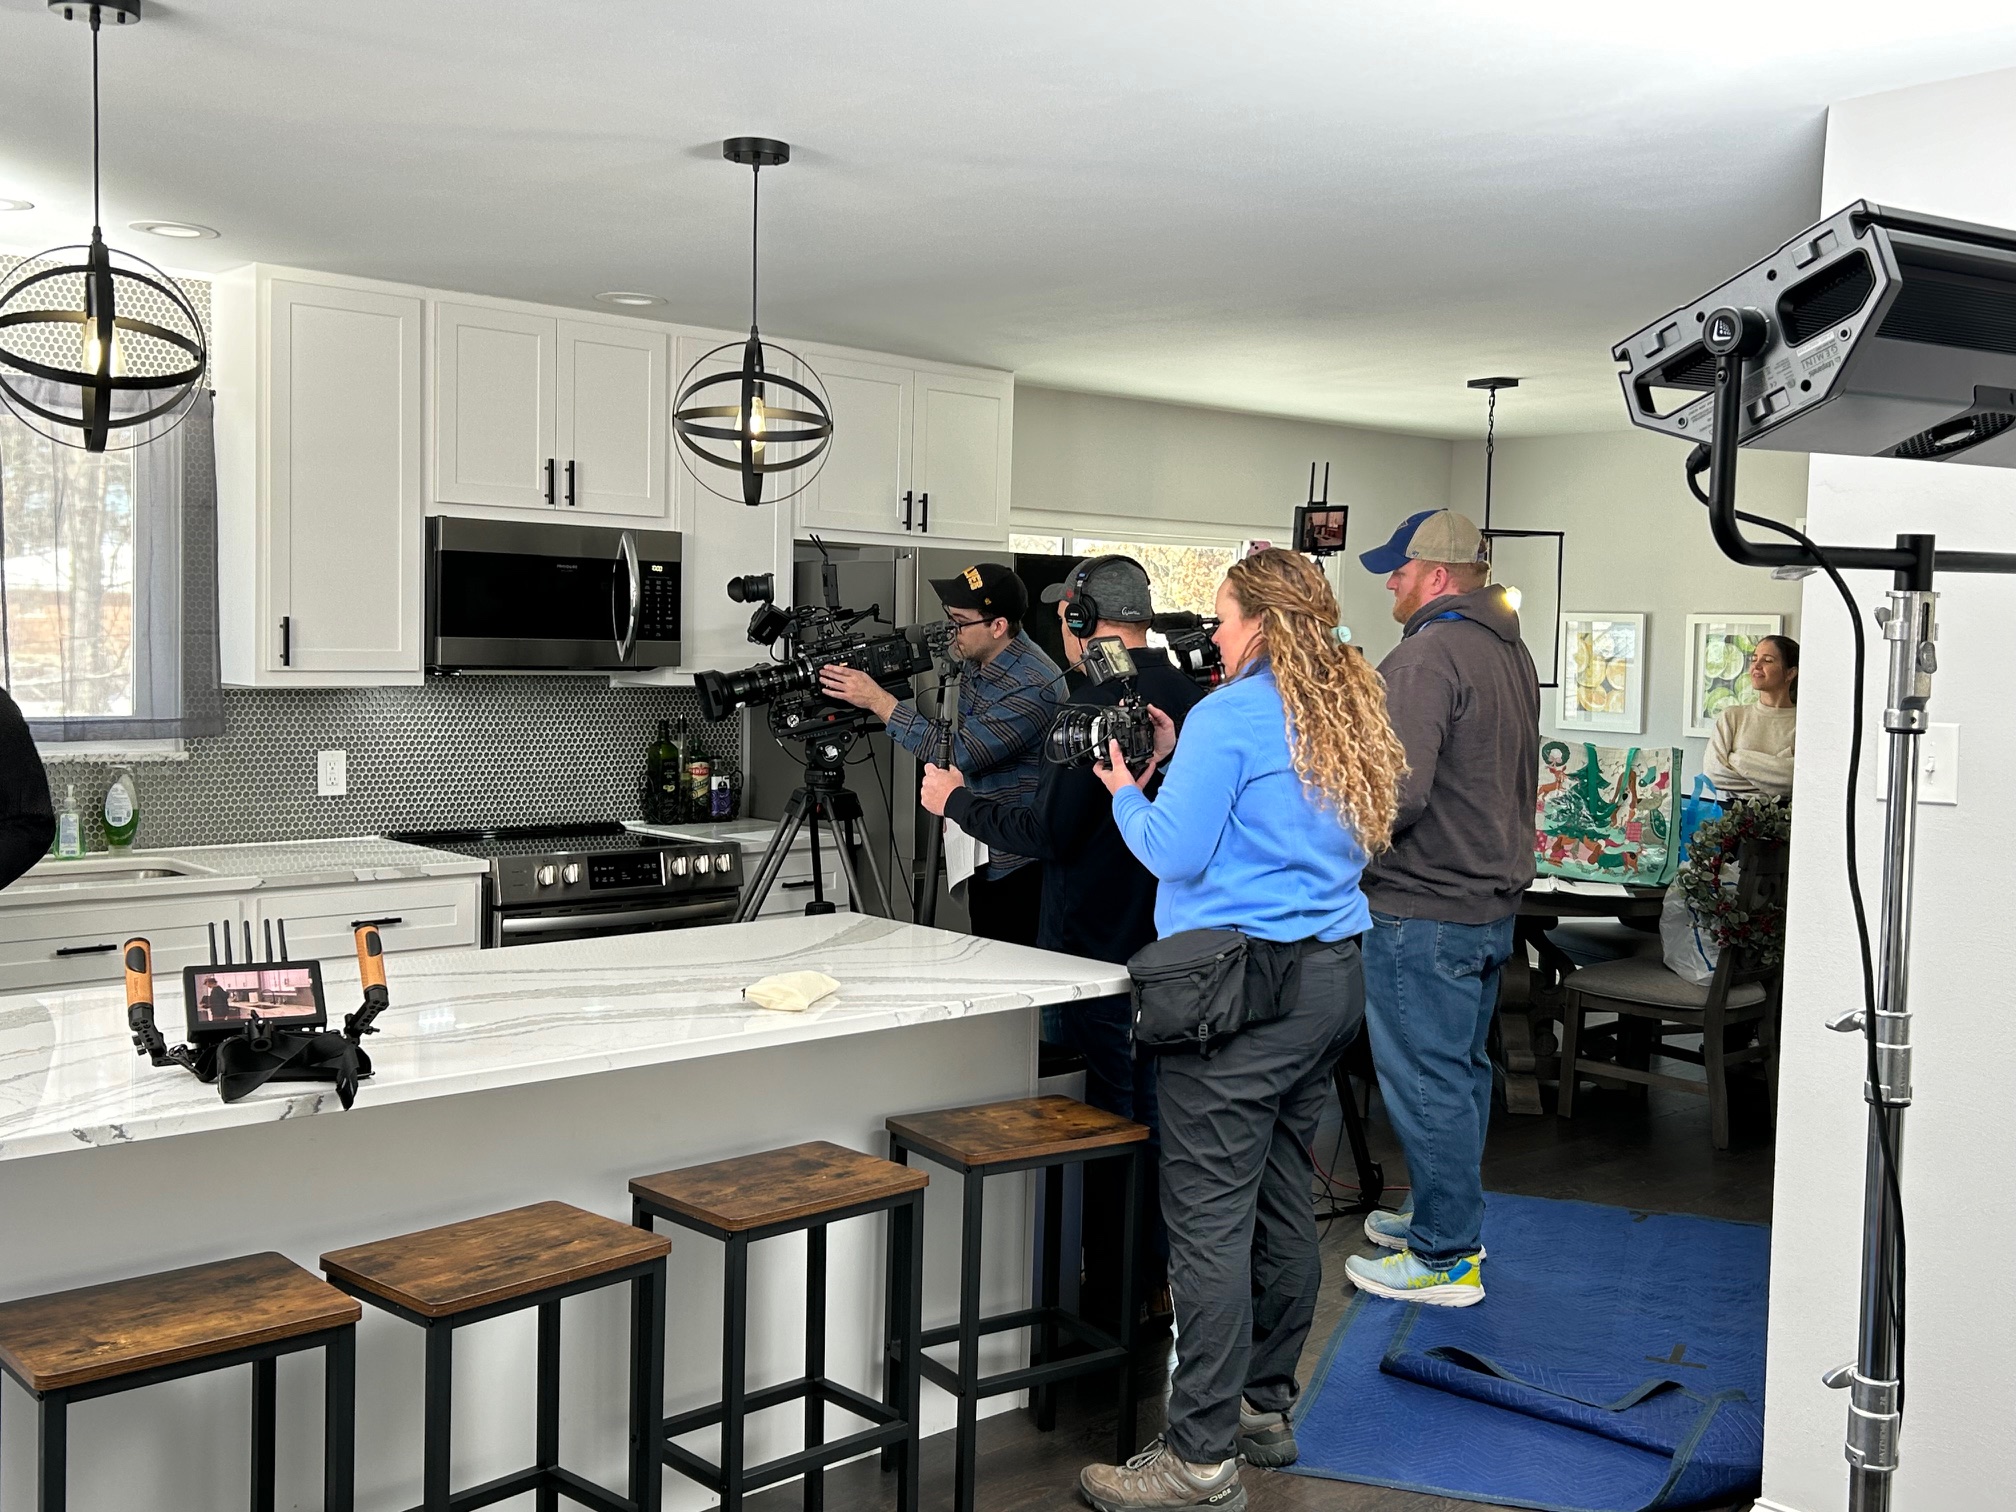
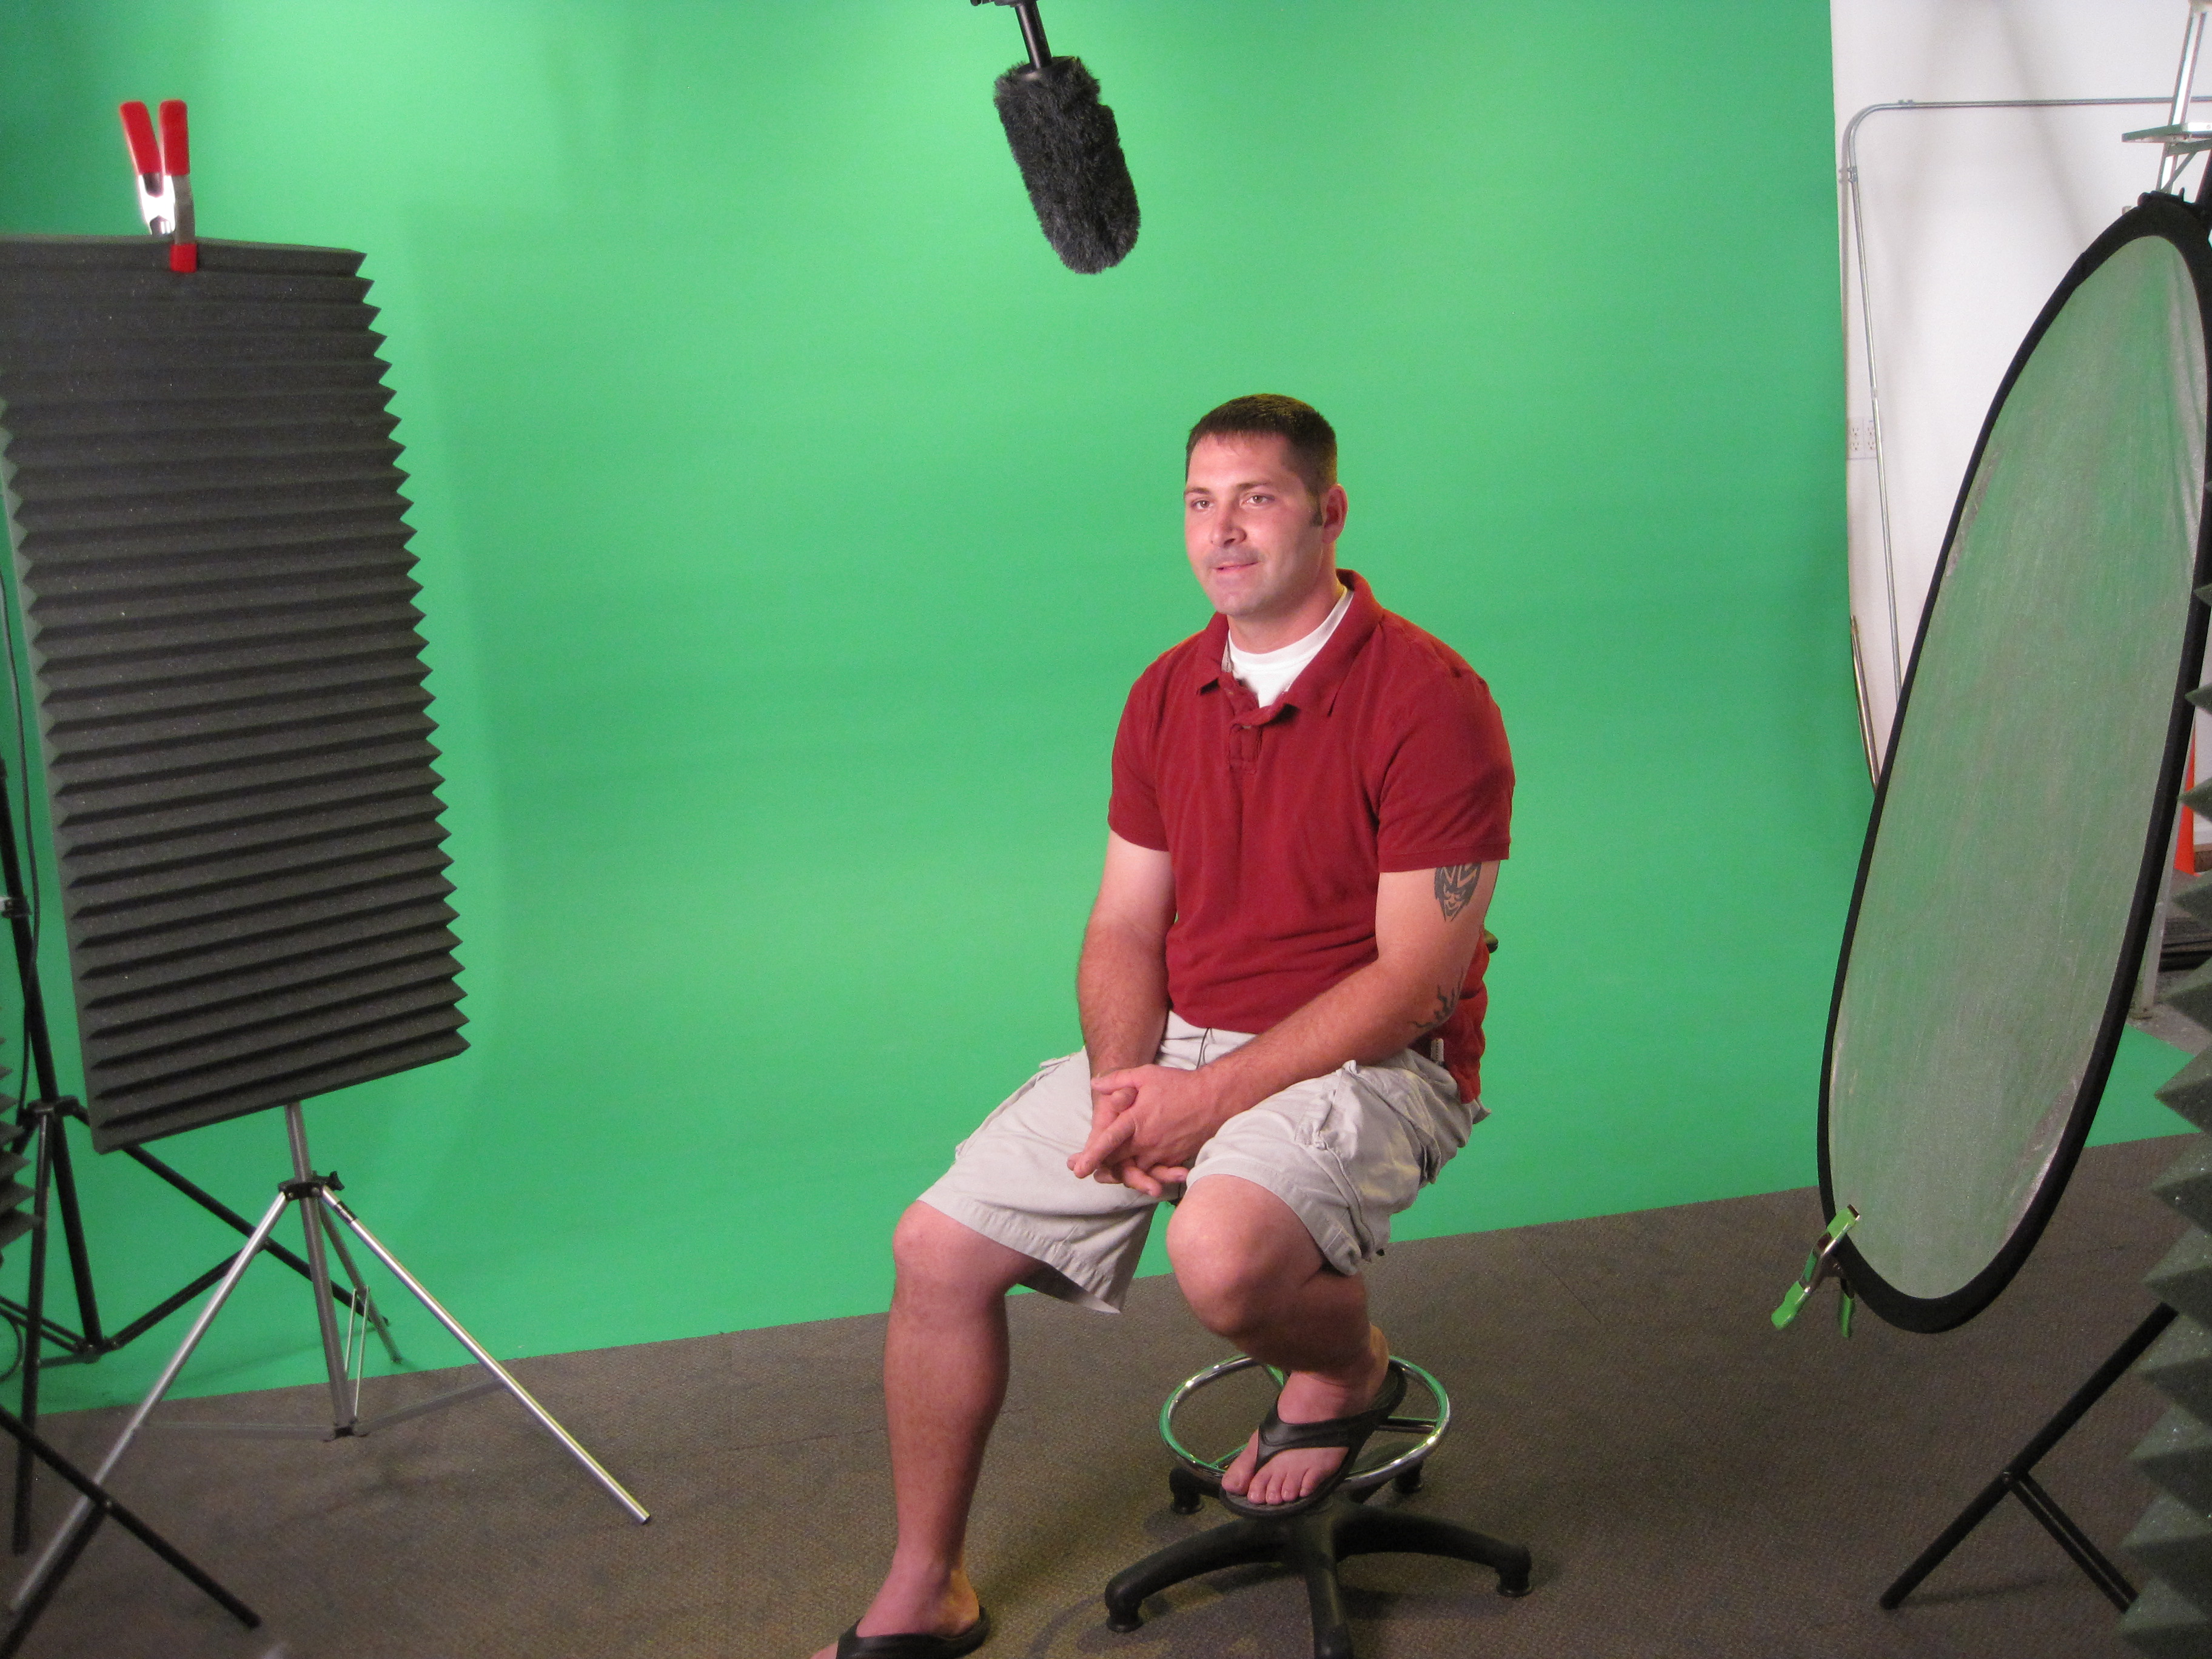
Our private studio provides the perfect controlled environment with specialized lighting and visual setups for small productions and interview scenes. It’s spacious enough to incorporate a variety of props to perfectly round out your set. We support every aspect of your production—from setting up a private, custom interview studio to supplying professional sound and camera operators, as well as providing the right equipment—ensuring your next video production is seamless and successful. Unique to our capabilities, we can even fly our specialized drones indoors for dynamic and controlled shots.
Having worked with countless businesses, marketing firms, and creative agencies in the St. Louis area for their marketing photography and video needs, St Louis Commercial Photographers is your trusted partner for visual excellence.